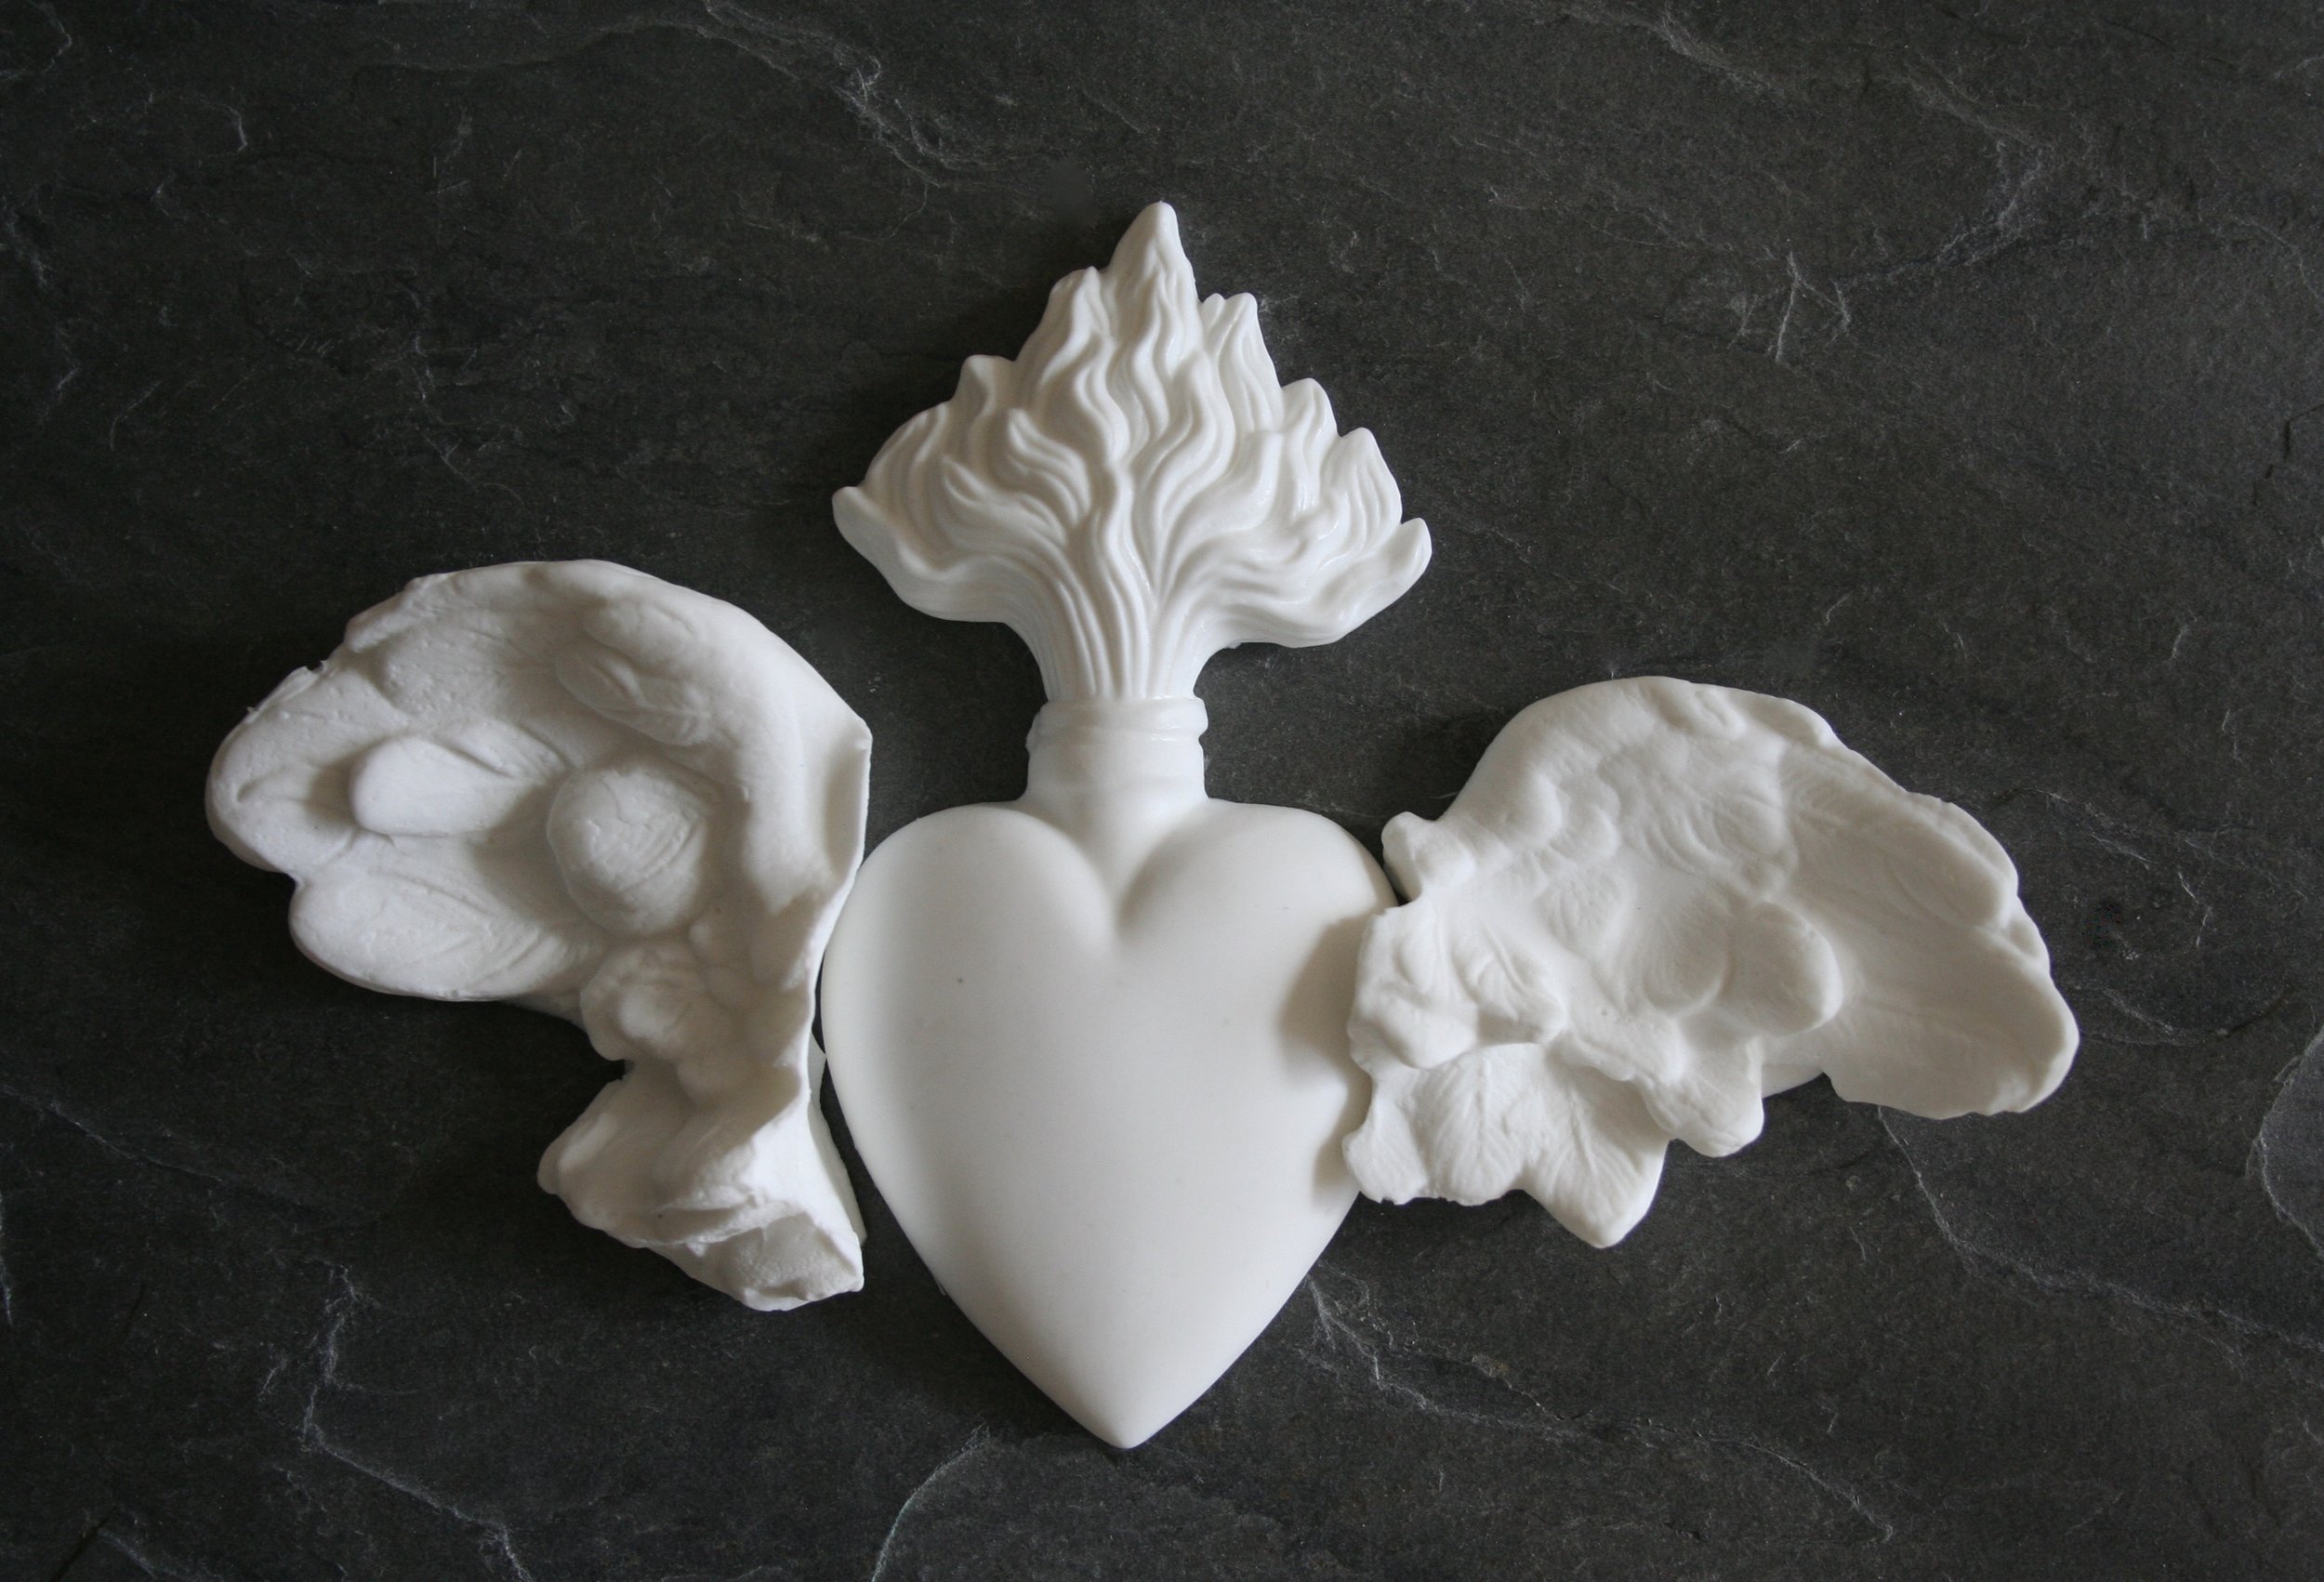
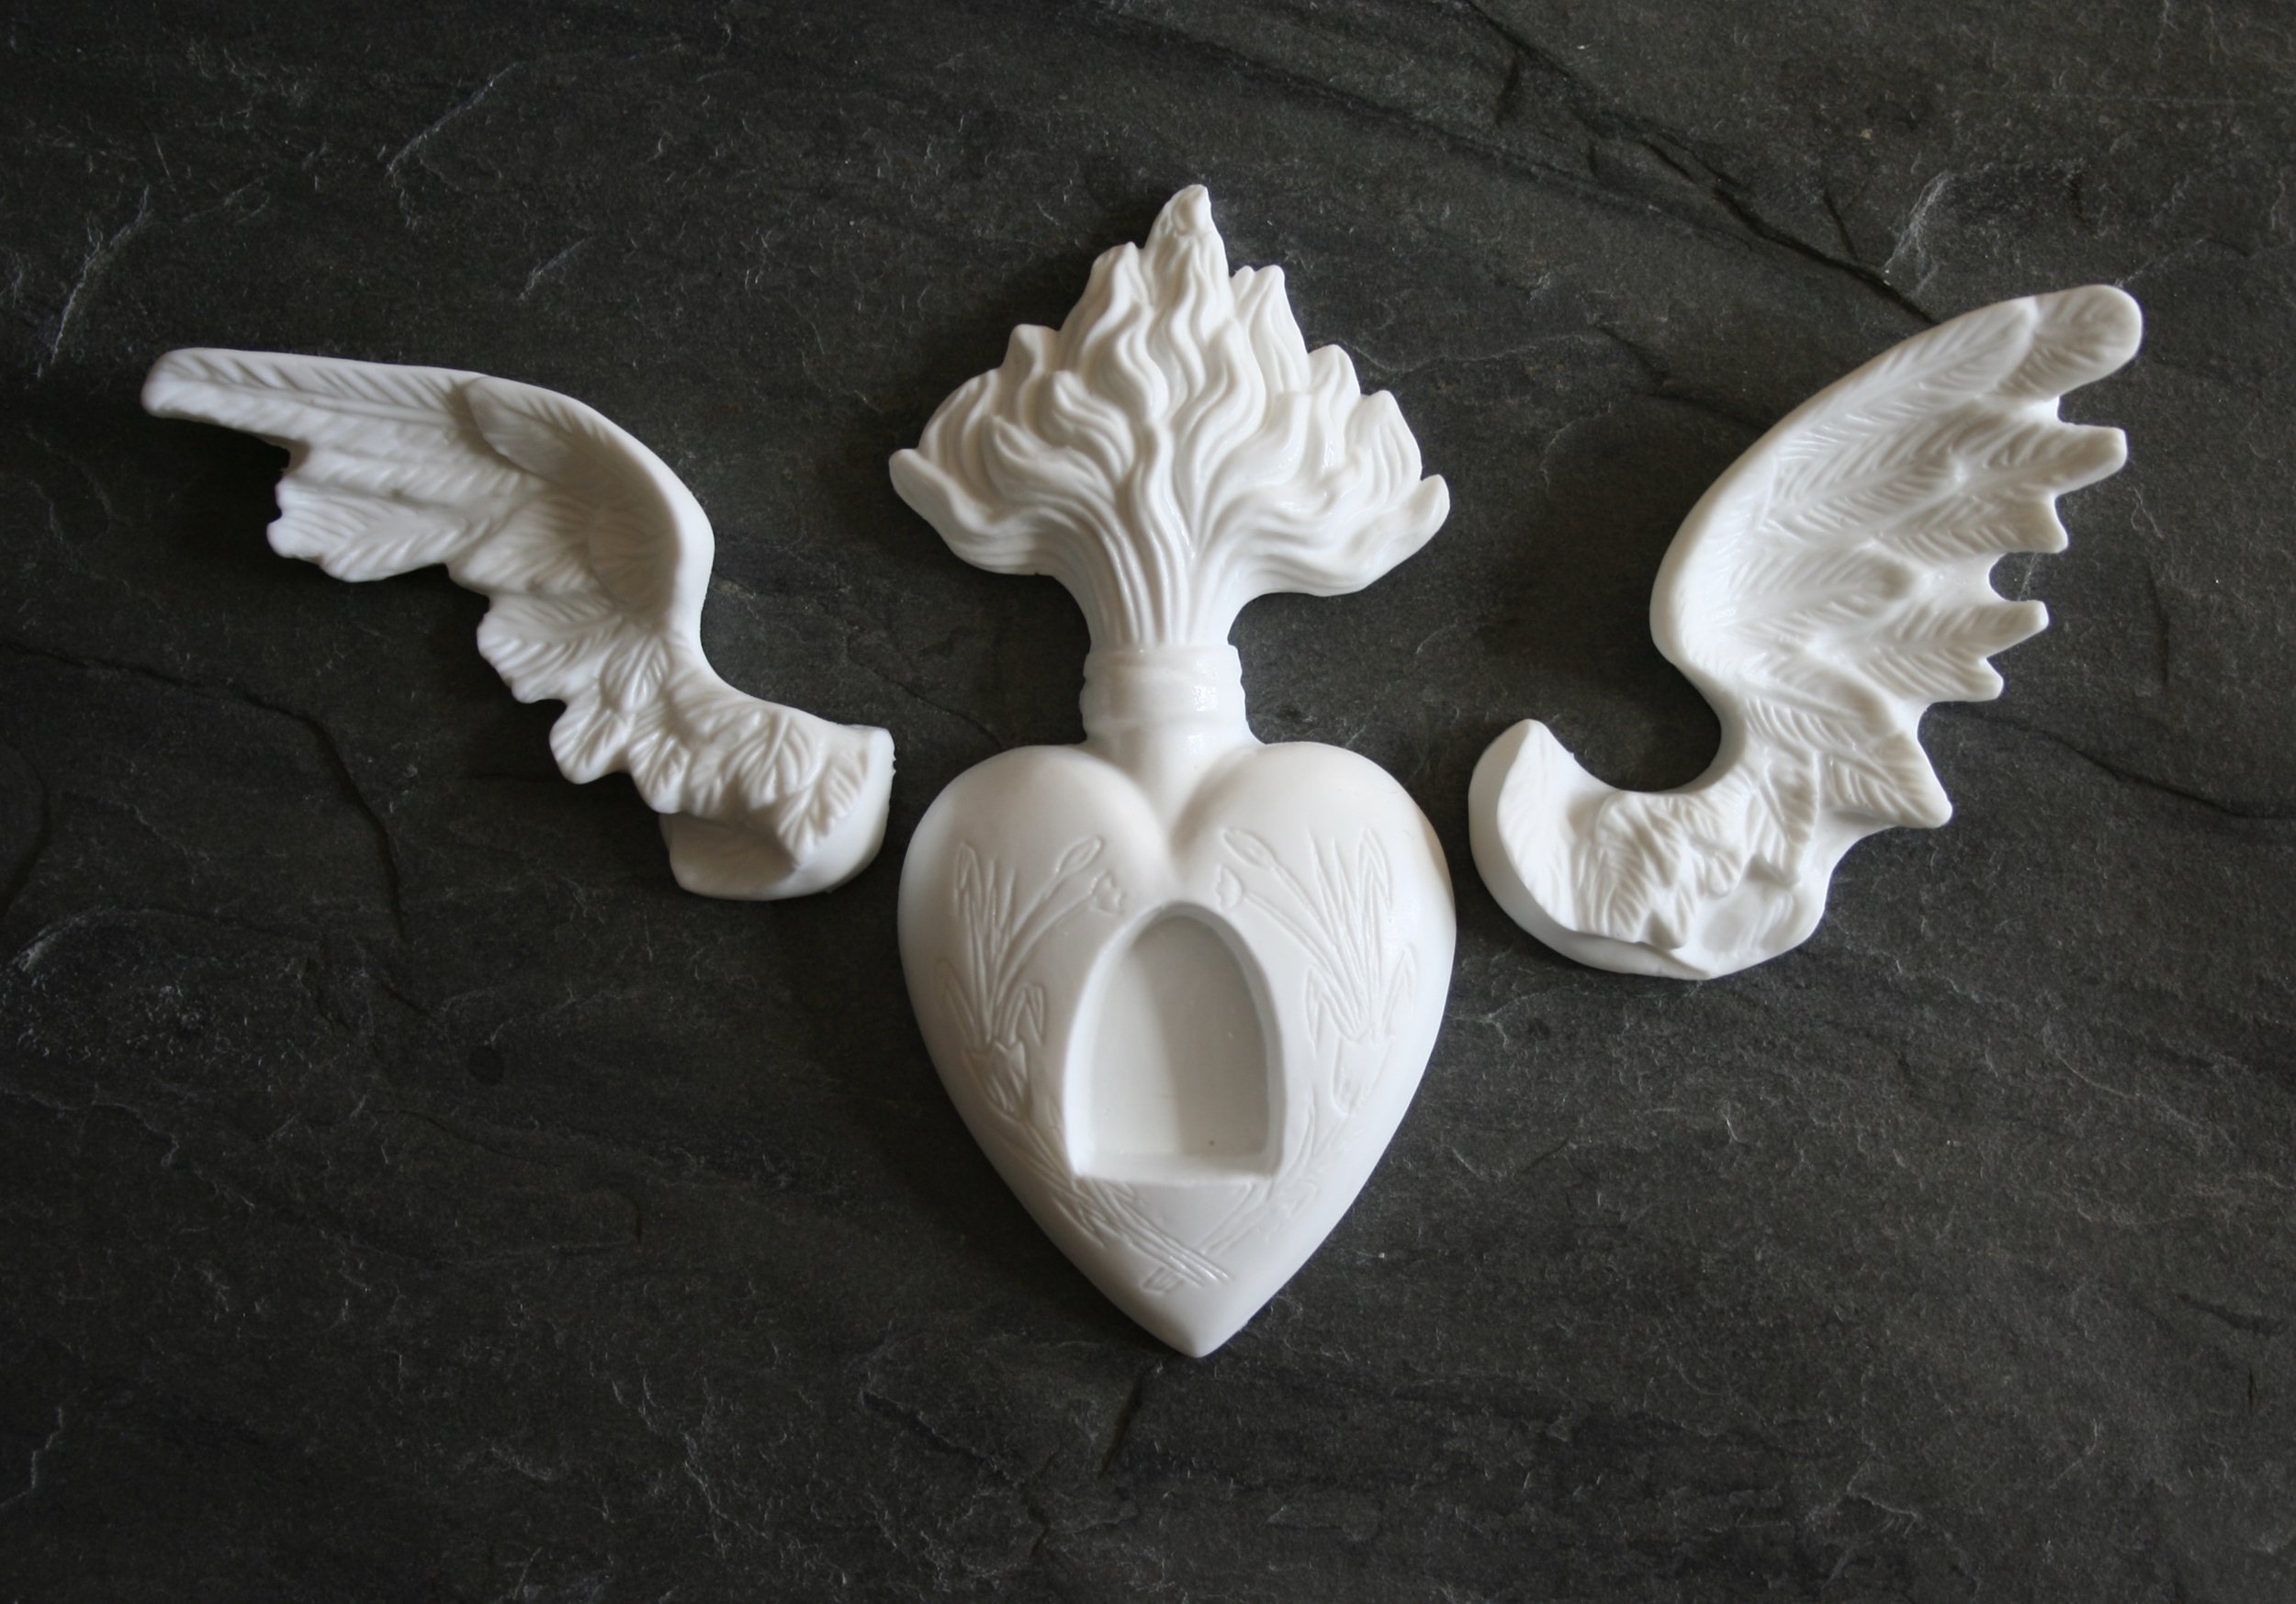
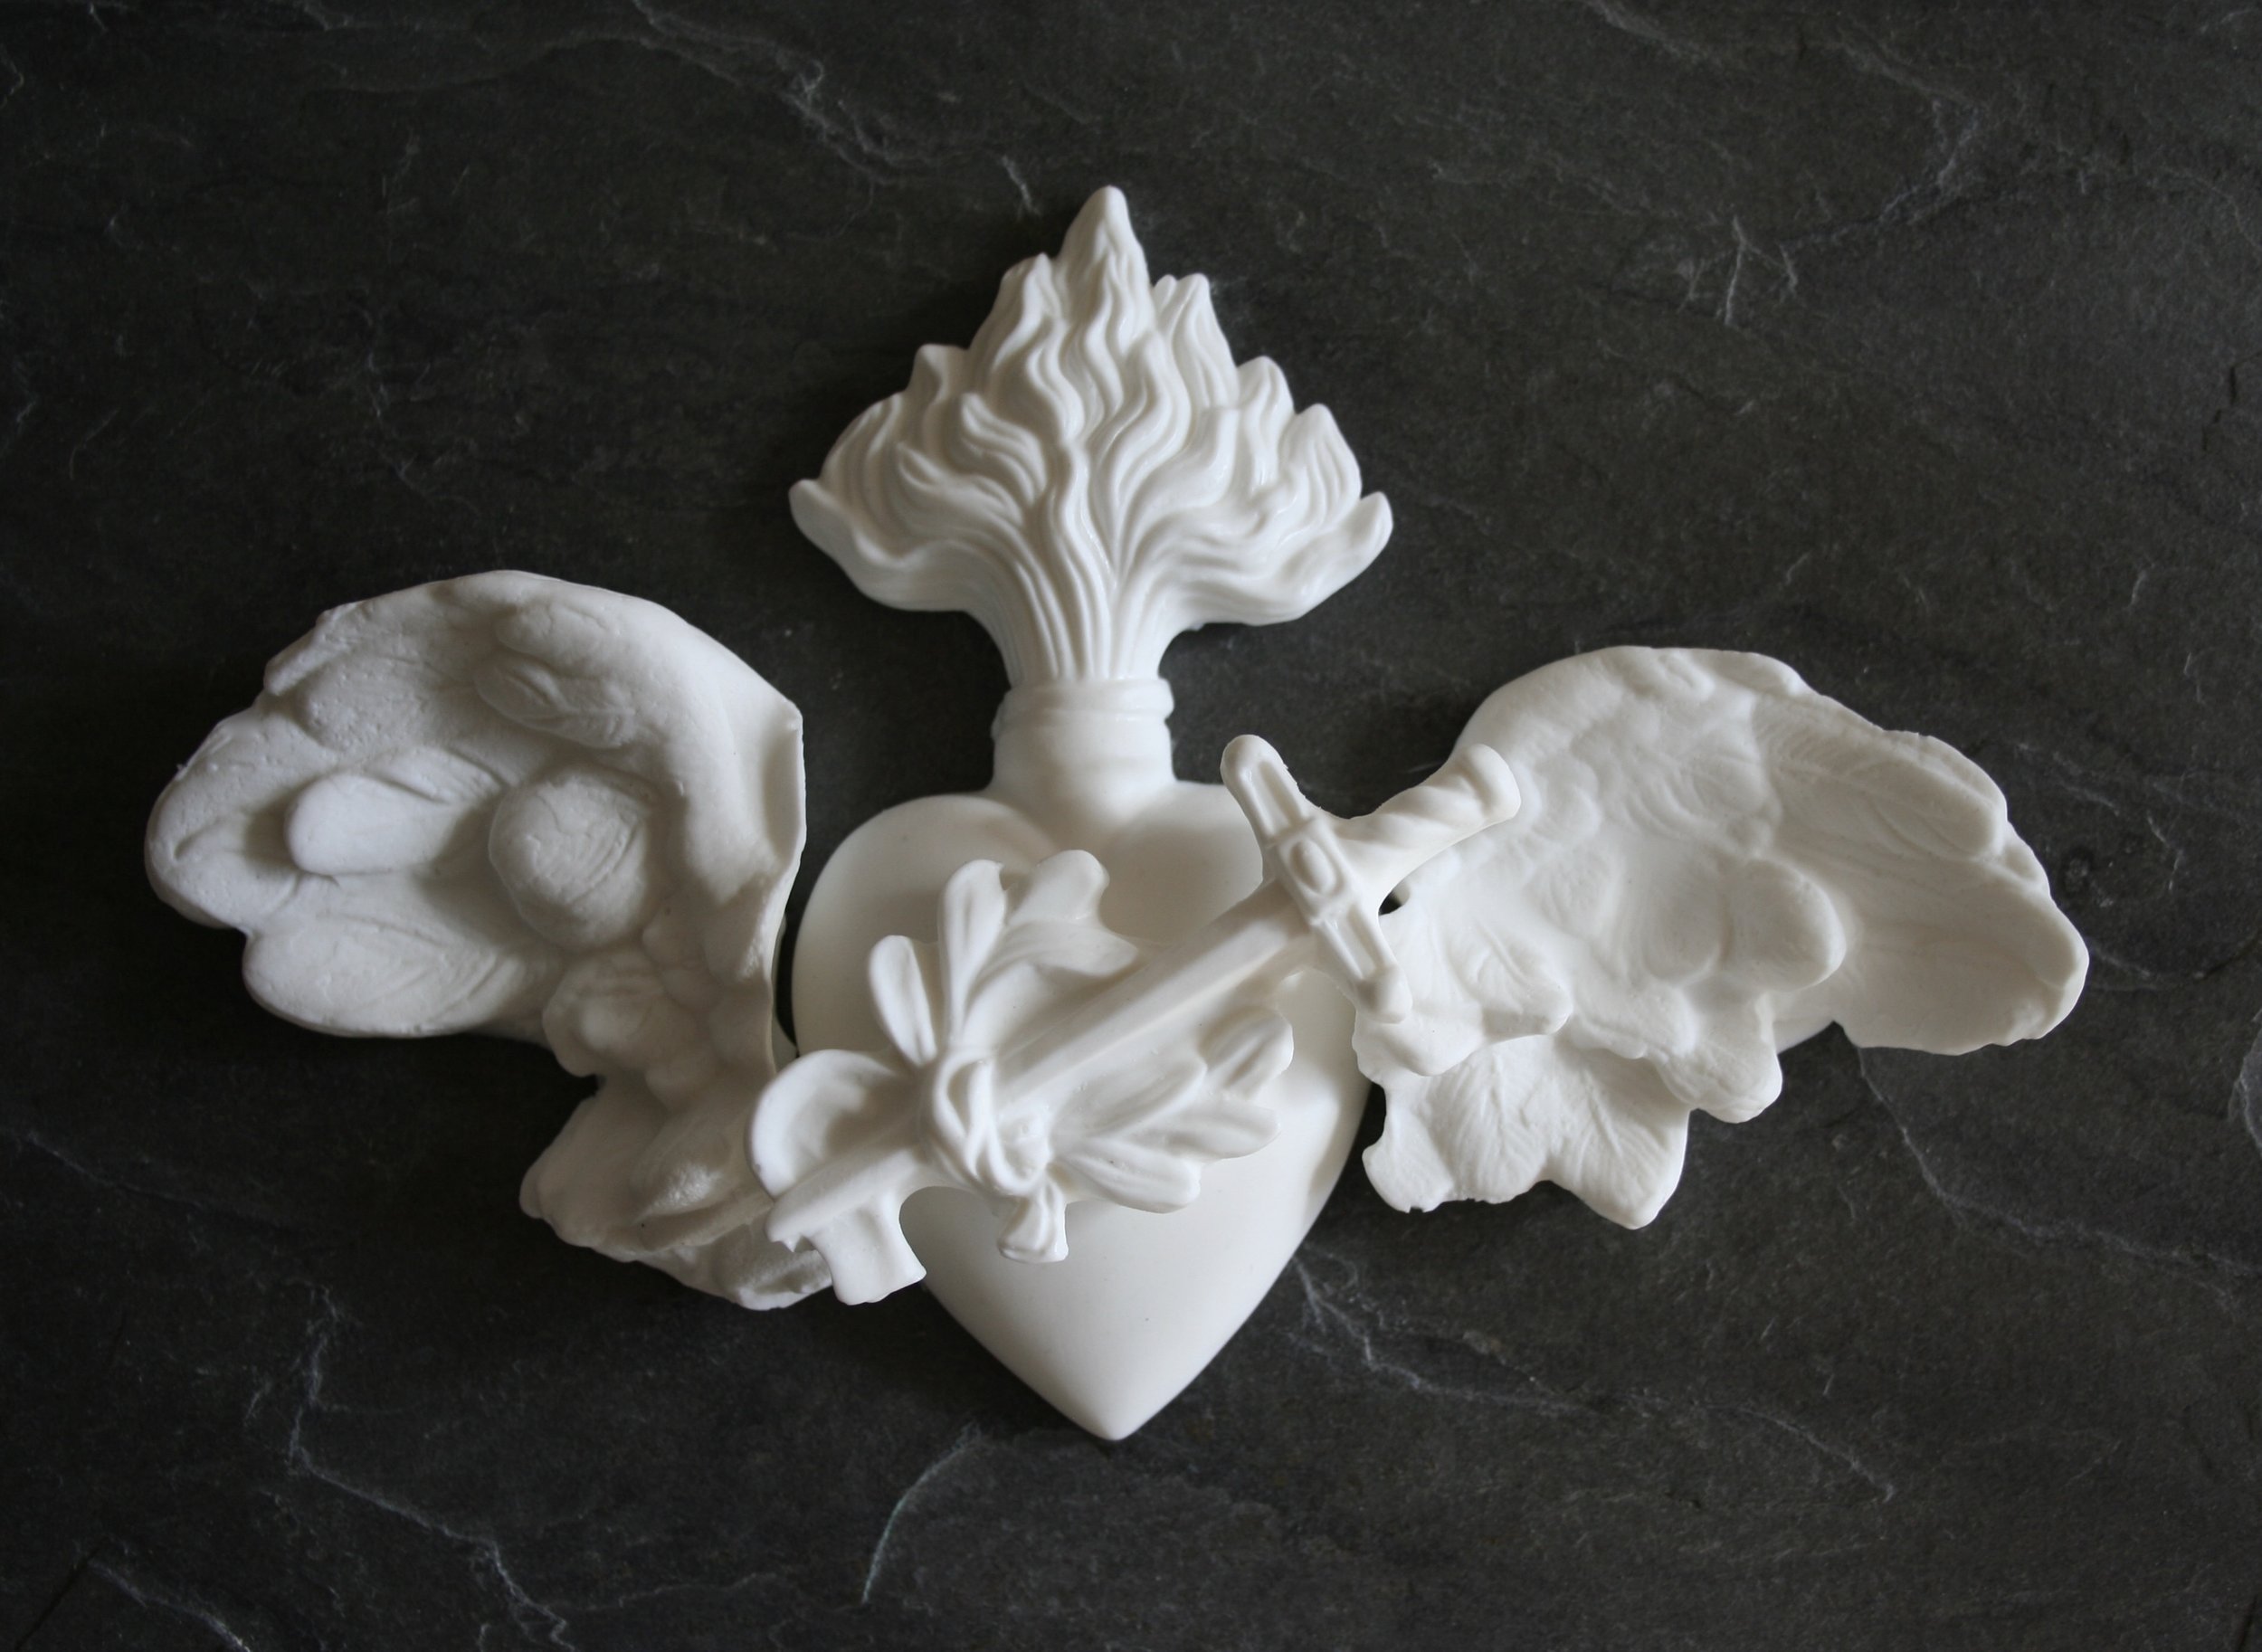
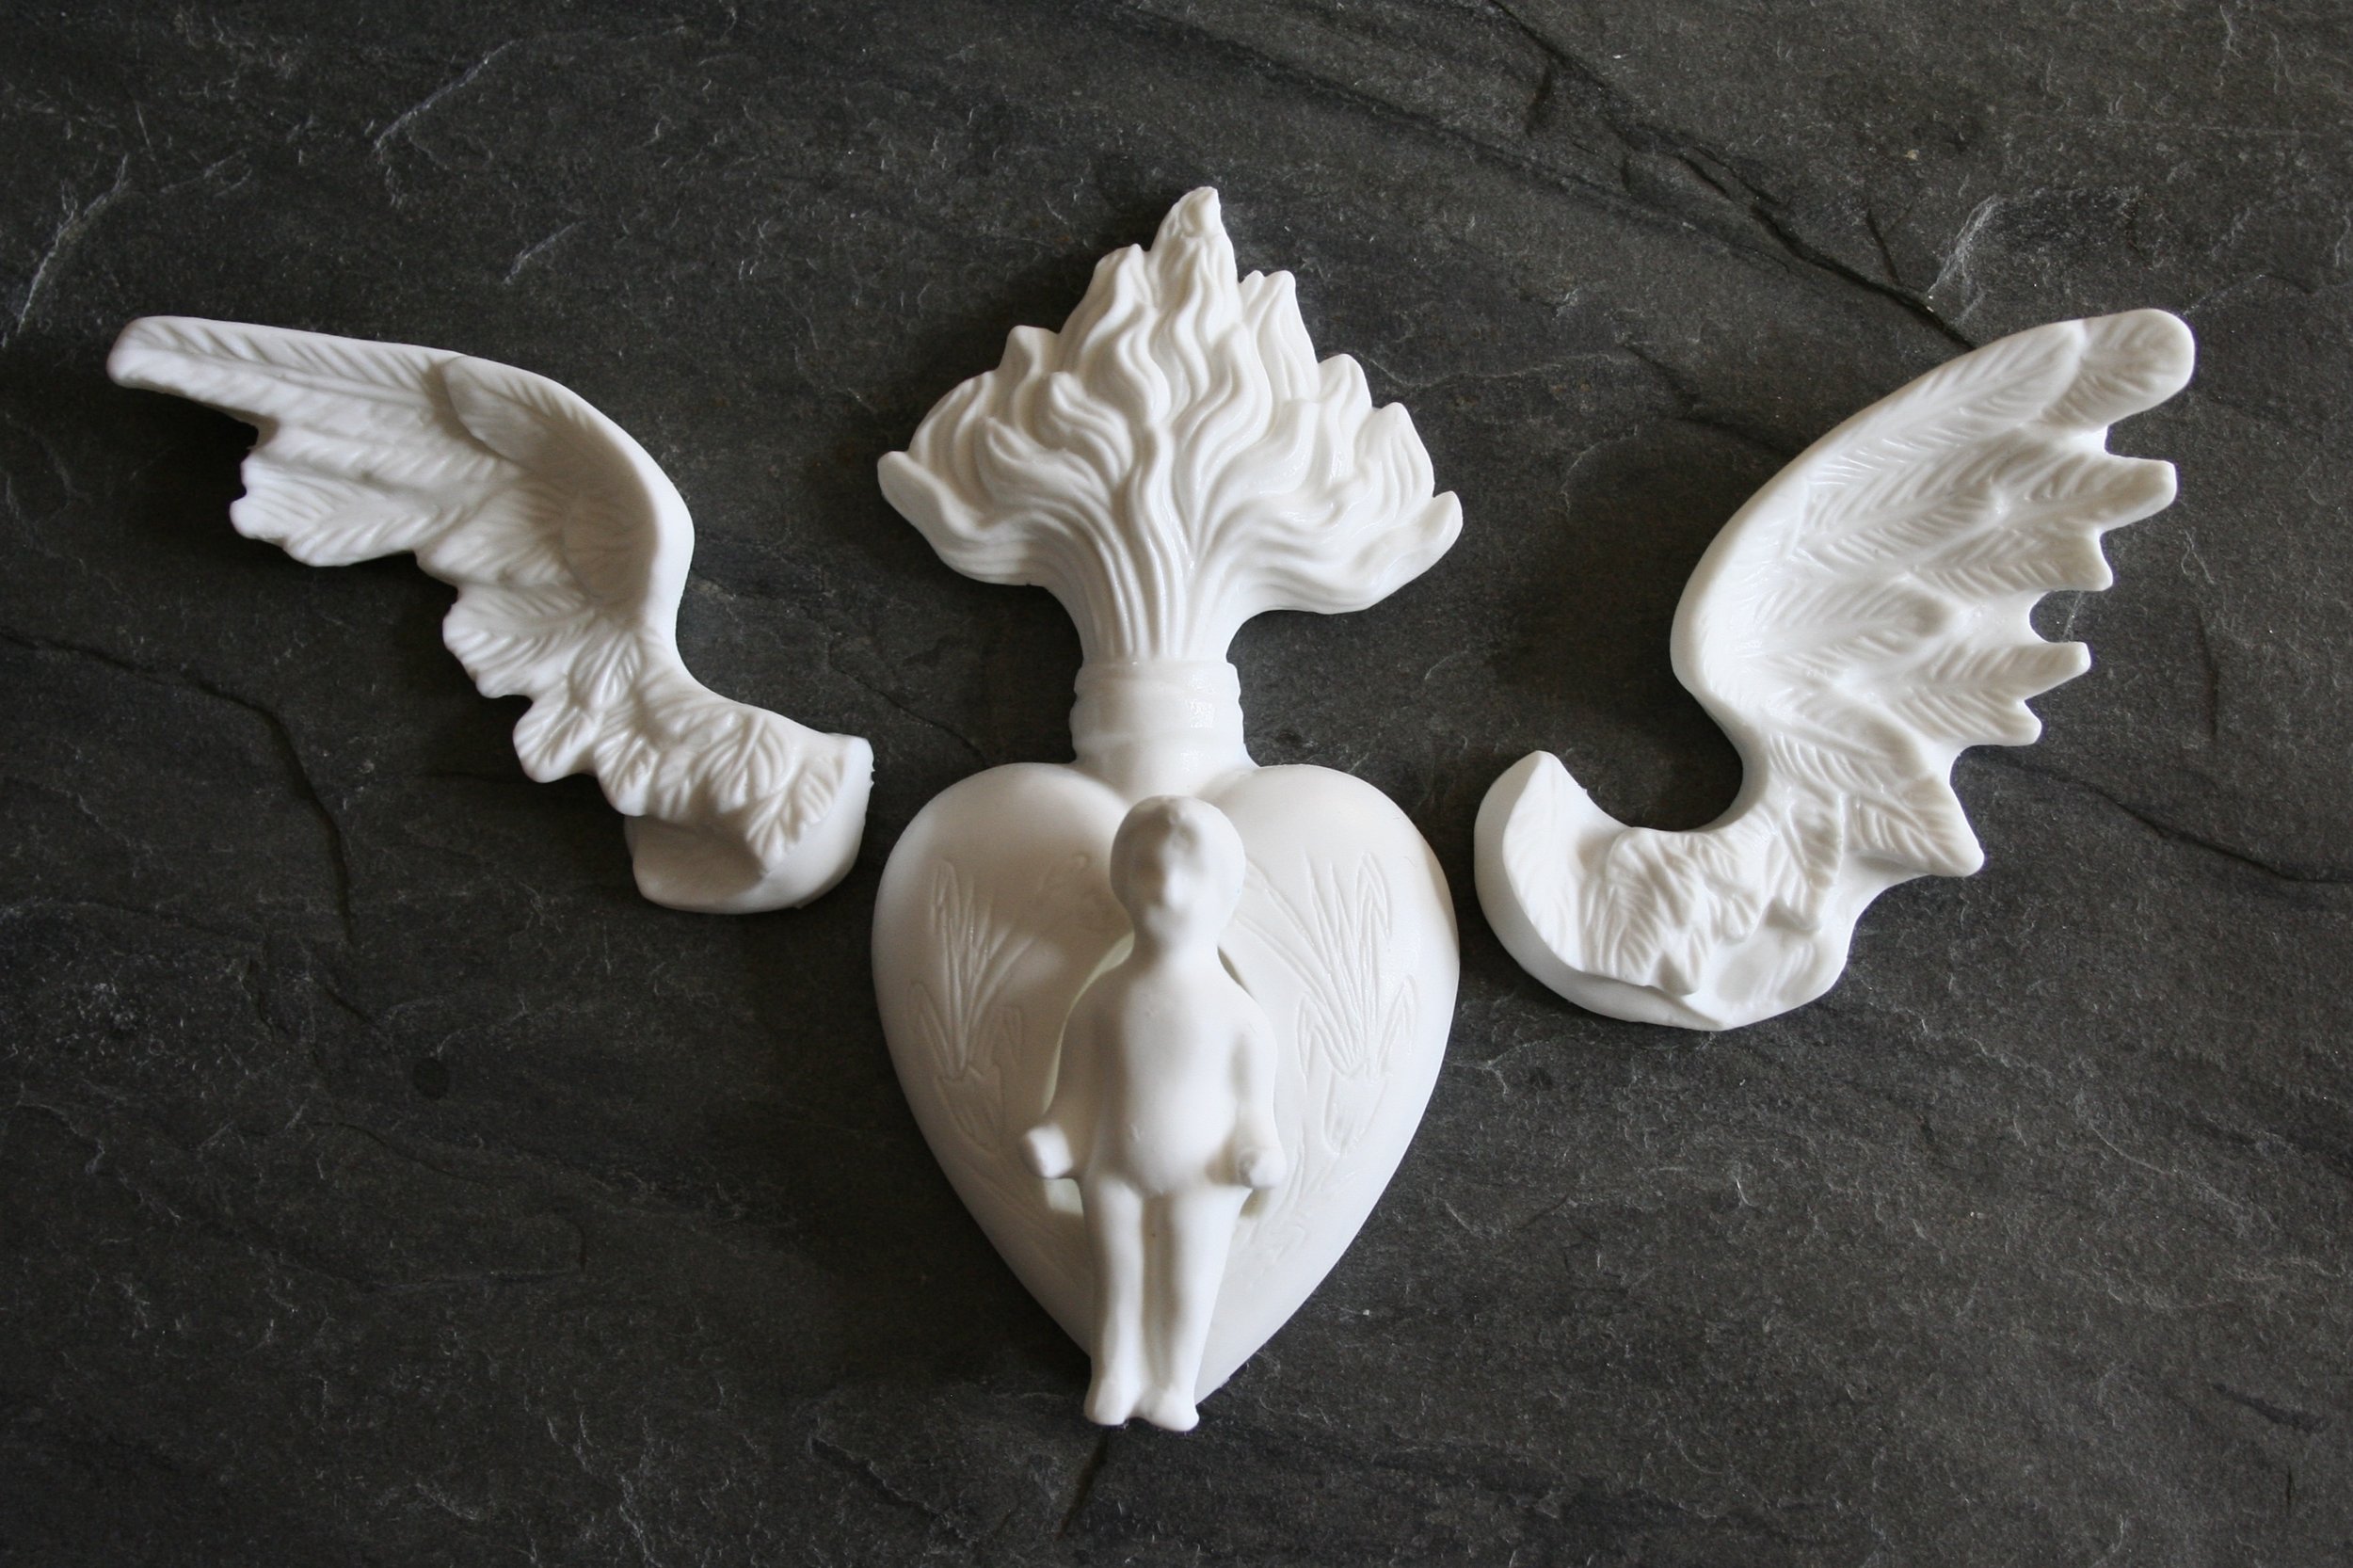
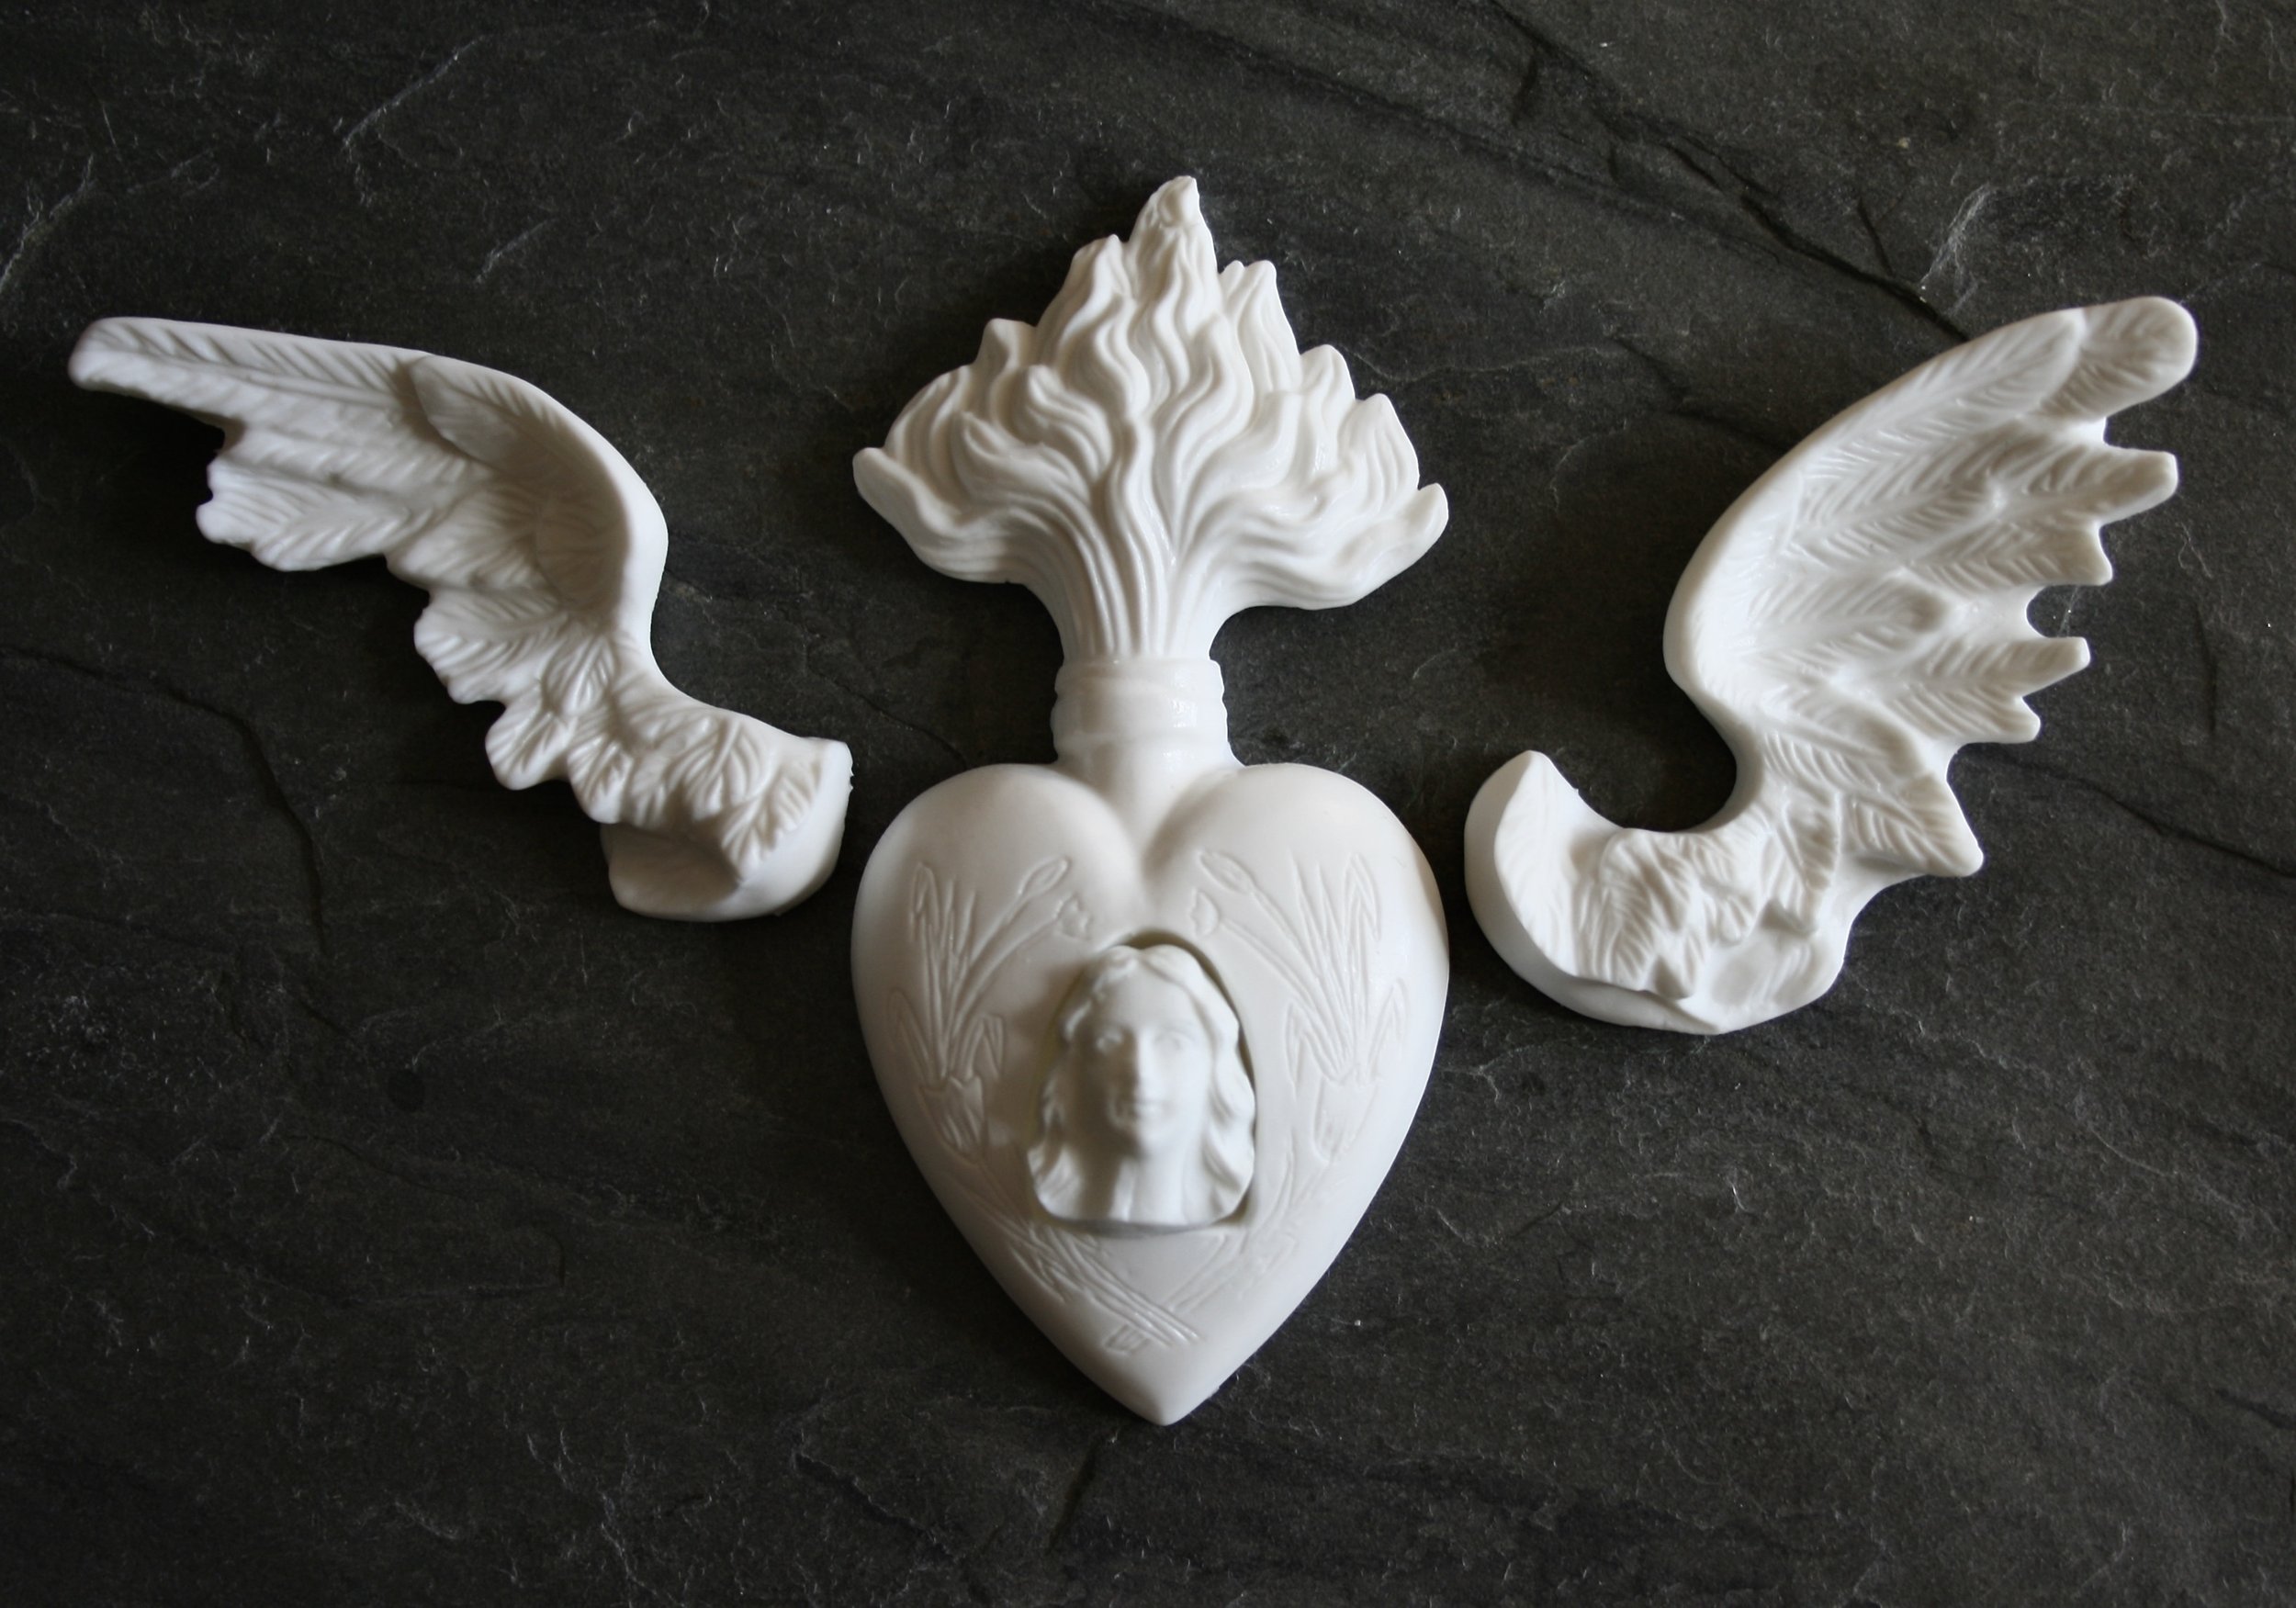
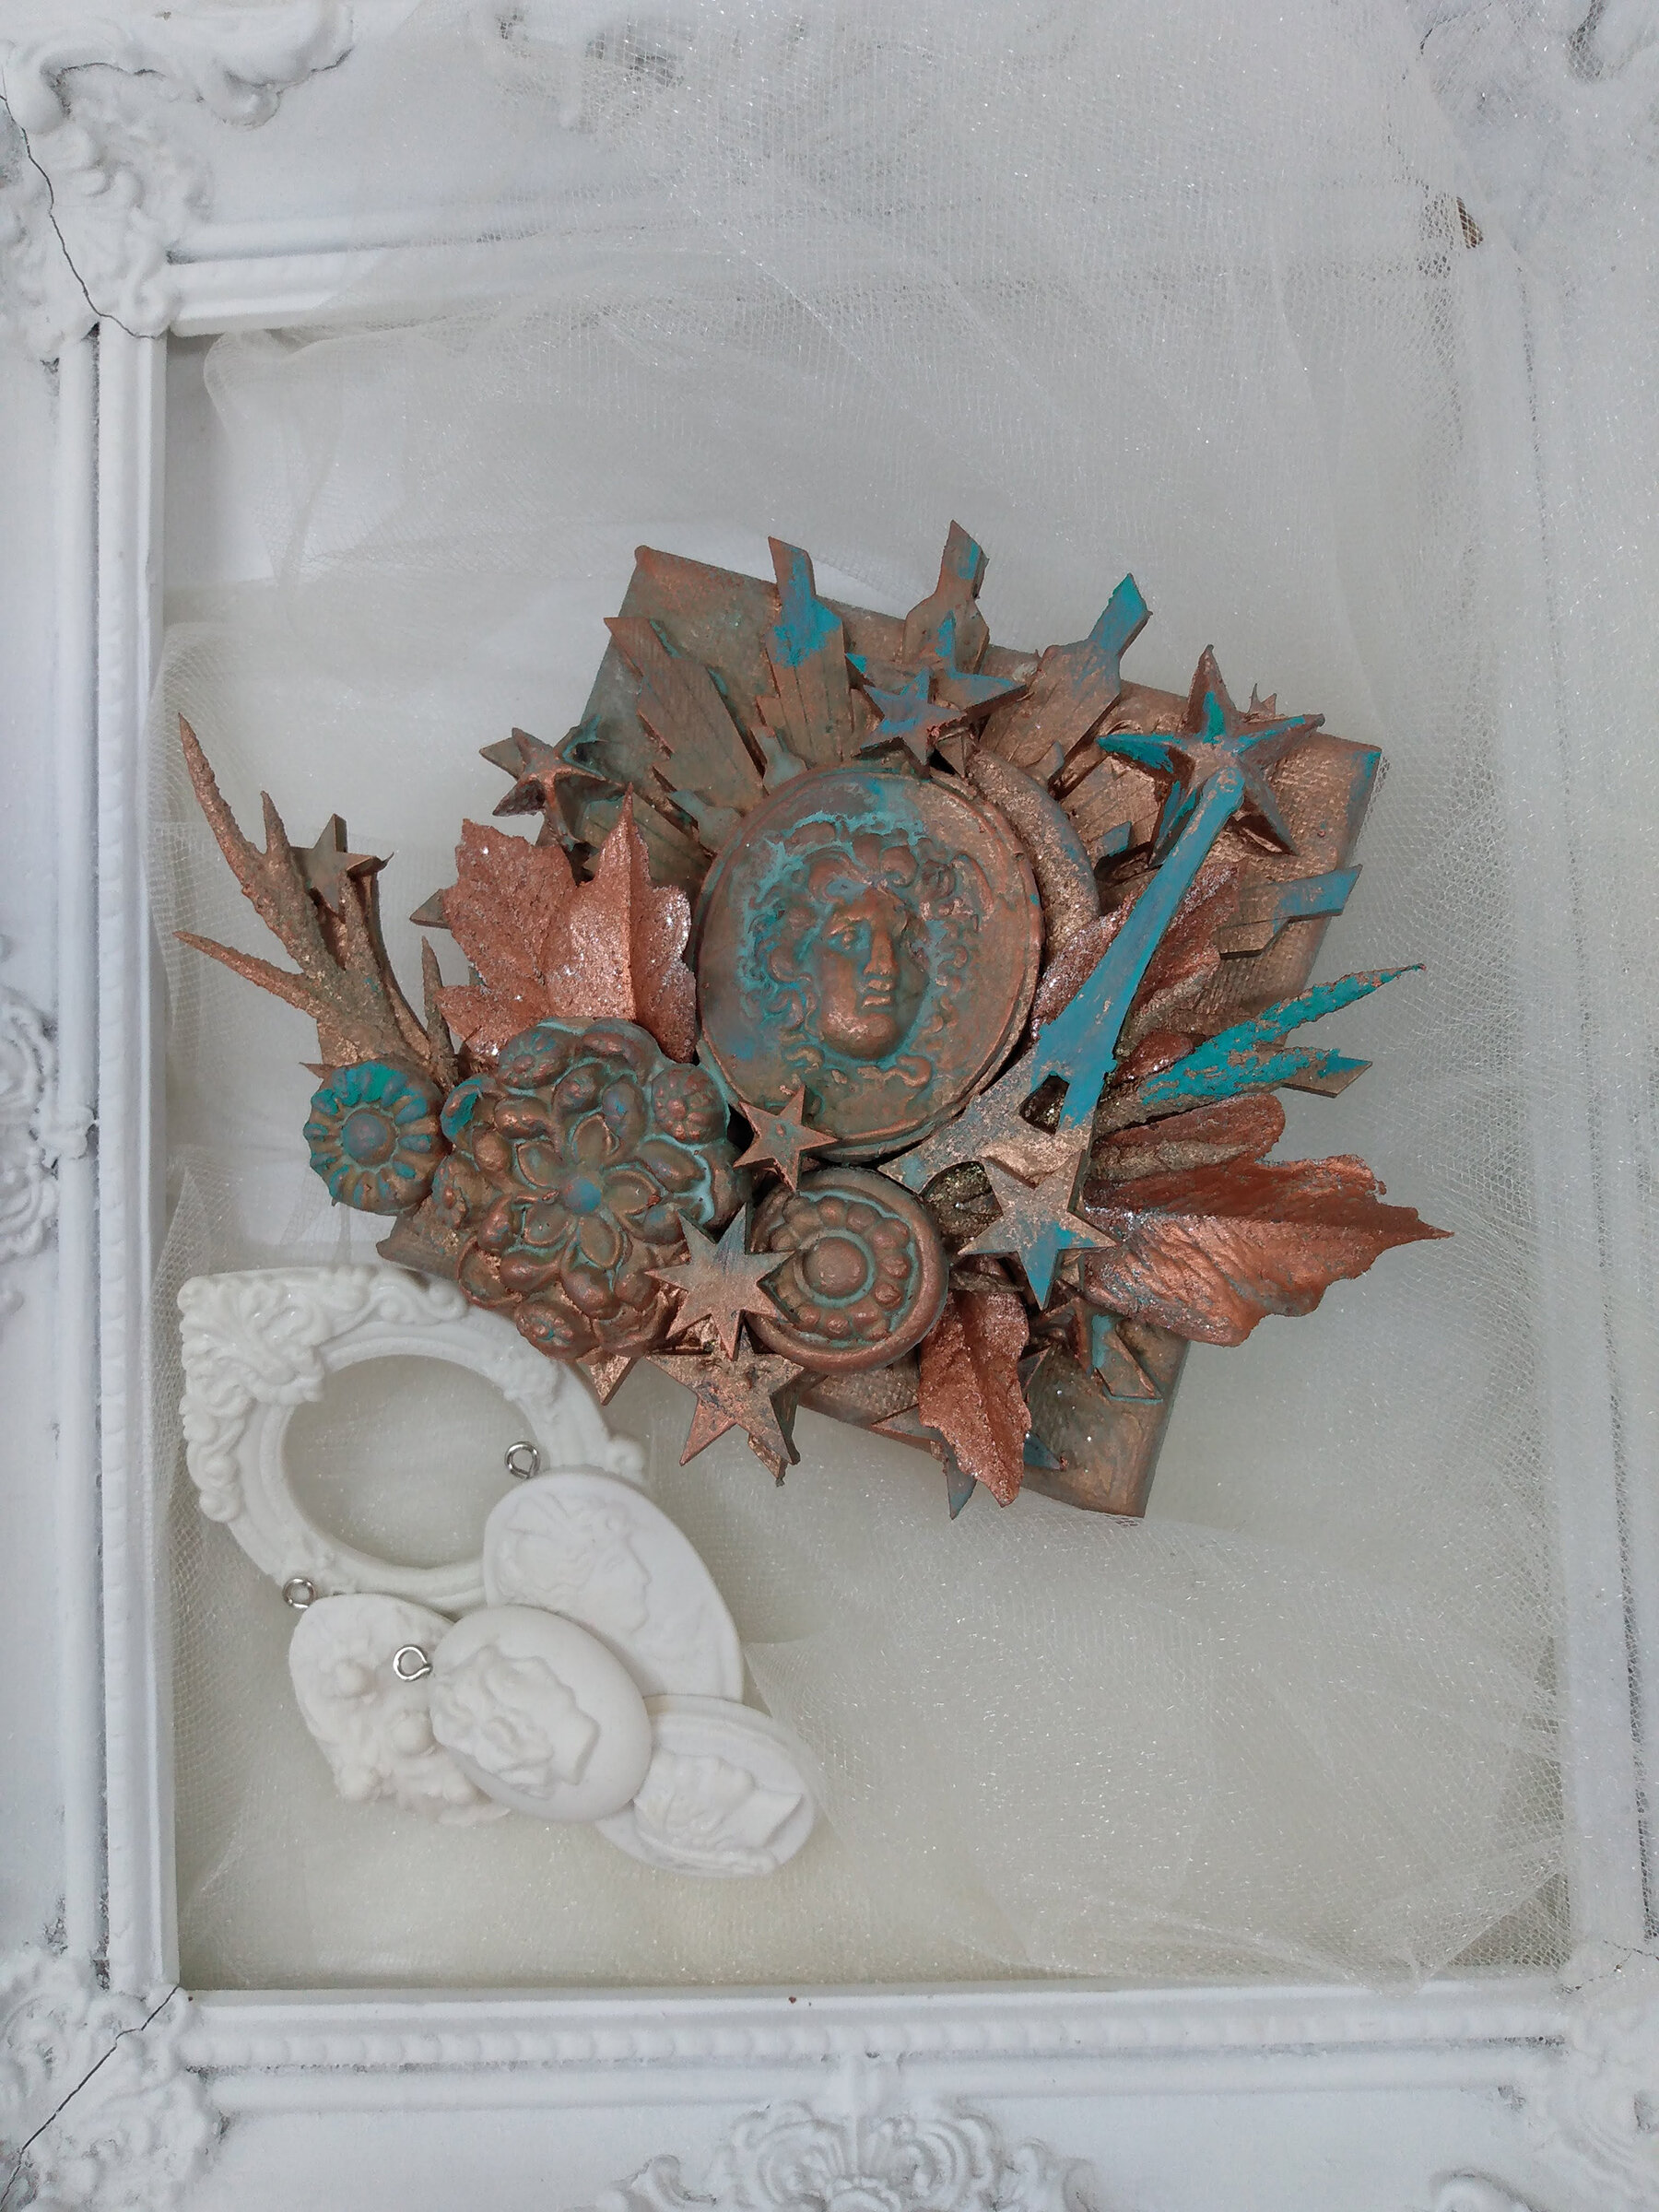
When I started RELICS & ARTIFACTS ® it all began with just a few simple pieces. I have always been a collector of well, just about everything, from rocks, shells and porcelain to jewelry, pottery and ephemera. I still have lots of things from when I was a really young kid. Fast forward to today and while those collections have grown in size I’m still searching out much the same kinds of things. One of the first resin craft blank castings I made were from a group of antique milagros and ex votos. I paired them up with 18th century hand carved angel wings that were actually attached to large figures. Making the molds was tricky it was hard wrangling the pieces and not damaging them in the process. Those first hearts sets turned out to be some of our best sellers and when my original molds bit the dust I didn’t want to risk it again so we discontinued those sets. I finally worked up the nerve to take molds from the antiques again and here we are with several reissued set and some new pieces as well. Hope you love them as much as we do!
Psychedelic ArtFoamies- Projects by Jenn Pipe
I had so much fun working with the stamps in Sandra Evertson’s new Psychedelic line for Art Foamies!
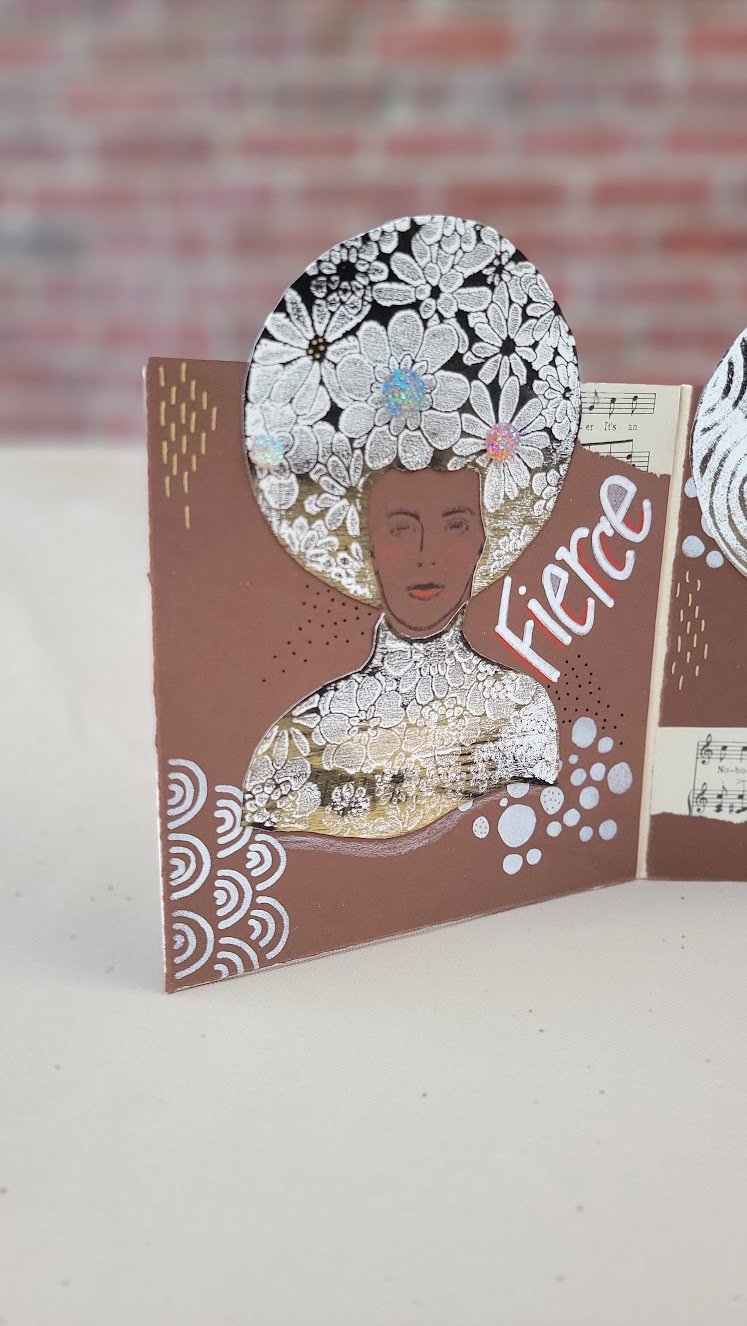
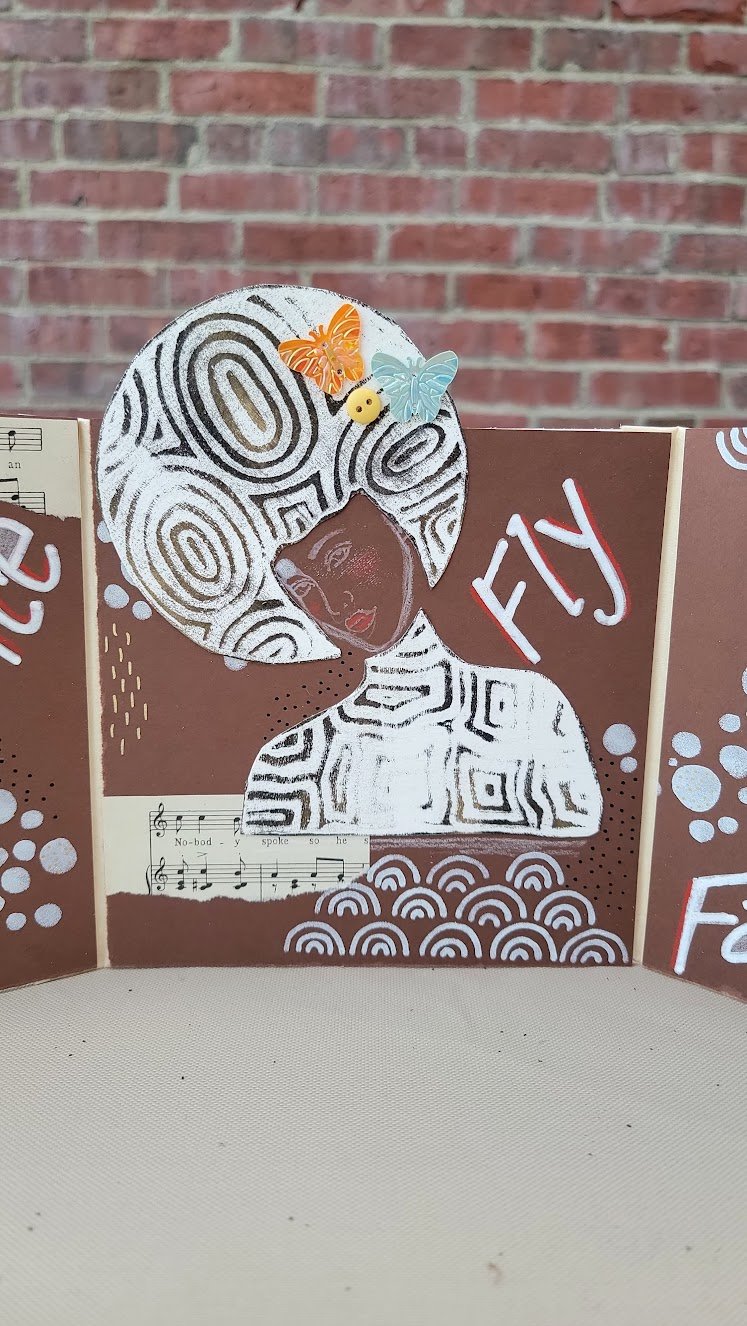
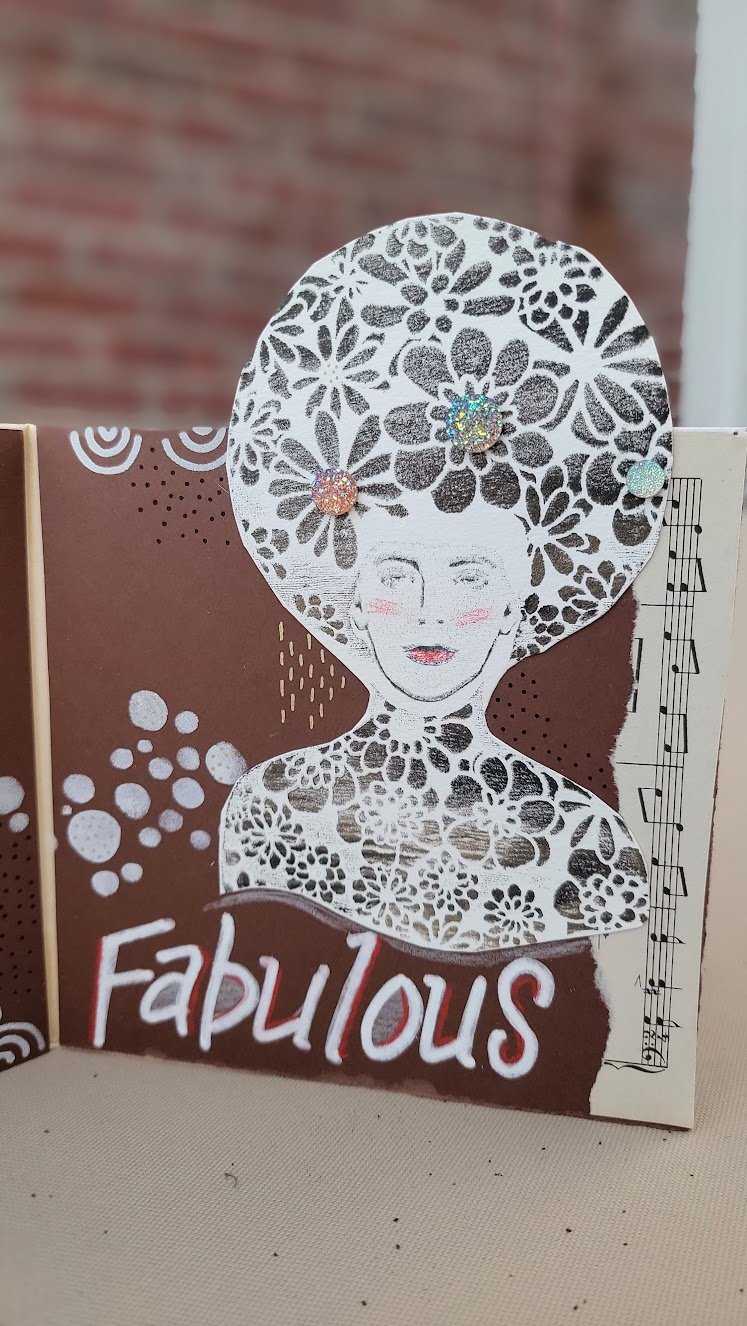
When I first saw the stamps, they immediately served up 1970’s vibes for me. The “Fierce, Fly, Fabulous” project is a tri-fold 70’s-inspired piece. I kept it pretty simple with some stenciled elements, collaged sheet music, doodles, and some fun rhinestones and butterflies nested in their hair. I pulled out the gel plate in order to ink the stamps. The stamps were dipped in the painted plate and stamped directly onto cardstock, creating the two women on the right. The woman on the left was created by pulling the image directly off of the gel plate. Truth be told, she’s my favorite. I love the inverse effect of the white flowers and the darker background colors.
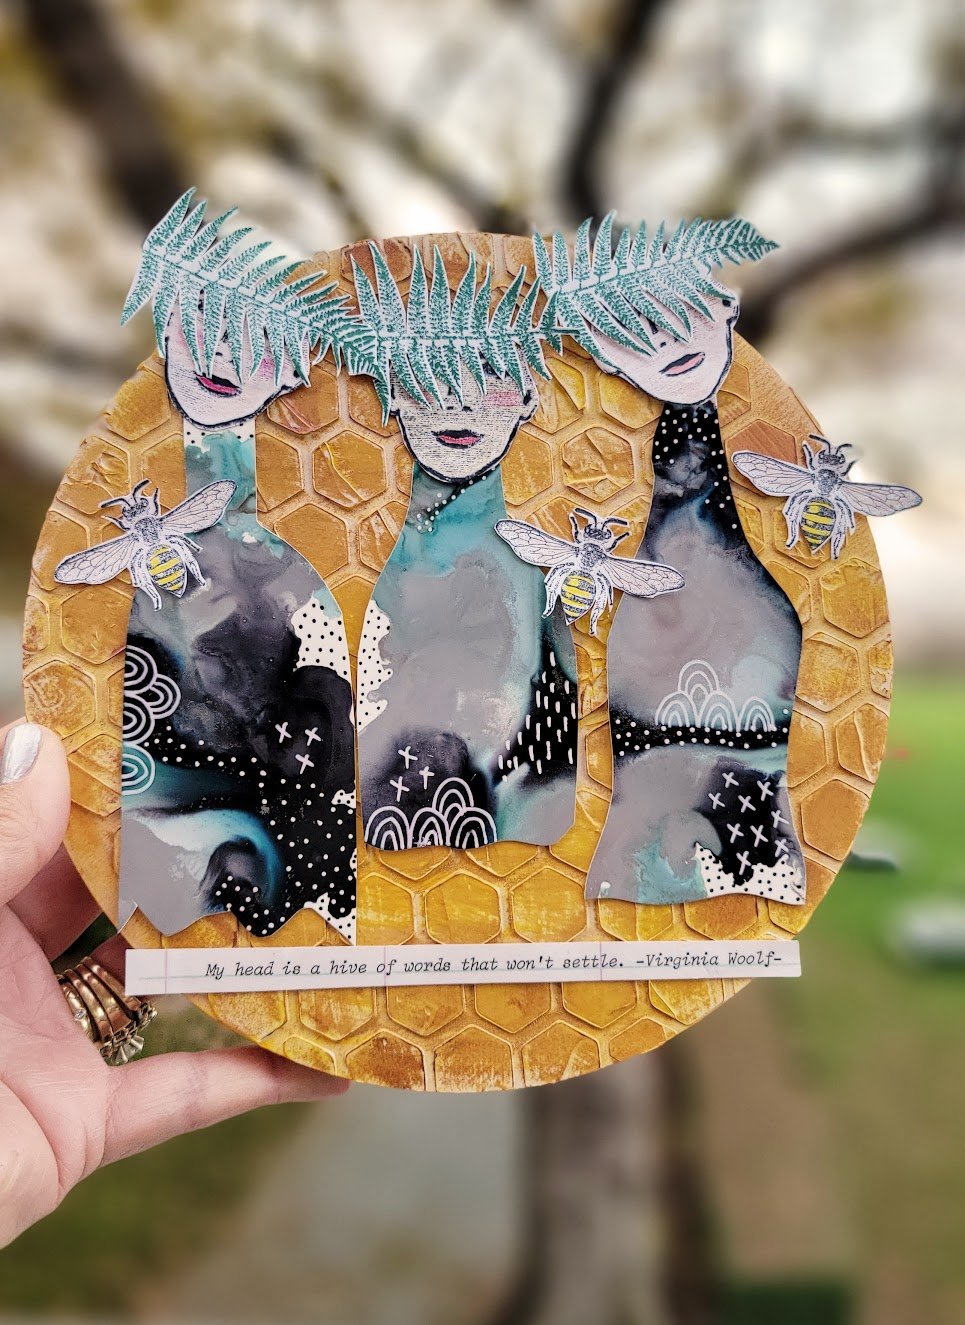
My second project, “The Bee Keepers,” was created on a wooden substrate. I used modeling paste to create the honeycomb pattern and once dried, I painted it with a light coat of yellow and gold paints. I used the new face stamps to create my three beekeepers. Their dresses were cut from an old alcohol ink print, fern stamps became their head dresses, and some stamped bee images finished off the piece. The quote was from a ledger sheet and seemed like the perfect complement to the rest of the project.
The versatility of these stamps is unparalleled! If you let your imagination guide you, you’ll end up with endless project ideas.
(Jenn Pipe is the owner of Self Esteem Through Art, an art-based empowerment and self-discovery studio located in Rhode Island.)
The Psychedelic line consists of 10 stamps, Butterflies In Flight , Familiar Faces , Flower Girl , Flower Power , Lace Veil , Maze 2 , Mobius , Modest , Negative Space , Psychedelic
Patti Campbell- Guest Muse
Hello, this is Patti Campbell. Sandra’s ArtFoamies inspired me to create this piece of faux stained glass.
Kintsugi, the R&A Way- Jenn Pipe
There is a centuries-old Japanese art form called Kintsugi. In this art form, broken pottery is fixed with a golden adhesive, which gives a unique appearance and new life to these damaged pieces.
Read moreFragments- Six Ways
Kae Pea Collage
We are pleased to announce the release of Sandra Evertson’s new line of ArtFoamies called Fragments.
Read moreCelestial Collaboration- By Wendy Aspinall and Kristen Powers
What happens when two artistic people decide to have an art collaboration?
Read moreGift From The Sea by Jenn Pipe
Books and art have always been such a perfect and symbiotic pairing for me! I love running classes that use books as the inspiration behind people’s artistic creations.
Read moreSpring Fairy Frames & Fairy Eggs by Relics & Artifact MUSE Jenn White
Springtime is my favorite season. I am so grateful for every single one I have been privileged to witness.
The knowledge that Spring is almost here thrills & excites me.
Every day I watch & listen for the signs. Wild bird & animal behaviors. New leaves unfurling from budding branches. An awakening. Newborns & Reborns.I love watching it all slowly green, & bloom.
It is magic.
Some of the best & most memorable days of my life are celebrated in the Spring.
My daughters were born in April & May. The anniversary of my dream fairy themed wedding to my beloved best friend heralds the Spring Equinox in March.
I delight in painting, decorating & embellishing eggs, arranging bouquets of the Spring flower blooms I grow in my gardens & filling colorful surprise baskets for my daughters & grandchildren.
I incorporate my love of nature & fairies in everything I do.
I have been fascinated by fairies my entire life. I surround myself with them. They are everywhere at my home. Inside & outside.
You have no idea how thrilled & excited I was when Sandra Evertson released & listed her new DIGITAL DOWNLOADS.
They are from a priceless treasured 1840s book full of French fairy prints by artist J.J. Grandville. They are over 170 years old. If you love antique ephemera like I do you will adore them.
I had never seen many of these particular images before so I was squealing with delight & so tickled when I saw them for the very first time! Gasping at their whimsical & delightful gorgeousness.
So many ideas of how I wanted to use them immediately filled & danced through my imagination.
My first thoughts were of framing the images with Sandra's exquisite ITALIAN BAROQUE FRAMES & CATHEDRAL WINDOW FRAMES. Displaying them throughout my home to admire & bring joyful smiles to everyone's faces as they gaze upon them. Happy fantasy daydreams for one & all!
My second thought was to use them in varied sizes on & within Sandra's IMPERIAL EGGS SET & EGG SHRINE. The great thing about digital downloads is you can size them as large or as small as you wish to fit anywhere. Sandra's digital downloads are a fantasy dream come true for me! How about you?
While playing with Sandra's EGG SHRINE I was reminded of my favorite Russian Imperial Egg created by Carl Faberge "Lilies Of The Valley". I created my own fairy themed version of it using Sandra's NOUVEAU SET.
I even made some fairy themed pendant ornaments using Sandra's IMPERIAL EGG SET.
Feel free to be inspired by my creations & create some for yourself & your loved ones too!
Enjoy this Spring!
HUGS! YOU ARE LOVED!
- Jenn White
Product shopping list:
DIGITAL DOWNLOADS:
Les Fleurs Animees- The Et Cafe DD
Le Papillons - Danse Les Airs DD
Le Pappilons - Enlevement de Cypis DD
CRAFT BLANKS:
PAINTS & INKS
An Ode To The Forest Floor by Muse Jenn Pipe
My internal GPS is normally set to the ocean, but today I want to pay homage to the restorative powers of the forest floor. A few years ago, I was feeling burnt out by the fast and furious pace of my 21st century life. The nonstop responsibilities of being a business owner were wearing me down. My husband and I were having a difficult time connecting due to our opposite schedules. And my daughters were involved with multiple activities that had us playing “divide and conquer” most weekends.
I joked one particularly stressful night that I needed some Calgon to literally take me away. Alone. For at least two uninterrupted days. I put out feelers on Facebook to see if anyone had any tips for a peaceful, remote location I could explore. My criteria included no chain hotels, no bed and breakfasts, and bonus points for no TVs or wifi. I was hoping to not see a single soul or feel pressure to remain plugged in.
A friend suggested the Getaway cabins in New Hampshire (they have outposts scattered all over the country), and I was sold! I booked a midweek trip, packed a bunch of art supplies and reading material, and told my family it was my goal to be completely unplugged (i.e. “Don’t call me, I’ll call you”).
When I tell you it was absolute nirvana, I am not exaggerating! Each cabin was perfectly distanced from the others and nestled among canopies of trees. They were also outfitted with all the modern amenities you could want (including the comfiest beds and linens, cooktop, dishes, bathrooms with running water, firepits, and picnic tables)! I was in heaven! That single getaway was a commitment to both myself and my creative process. I drew, wrote, mapped out content for new classes and workshops, and took the most delicious naps after exploring the area on foot. I left feeling more recharged and relaxed than I had in years and I vowed to give myself a gift of at least two of these trips per year (which I was able to do until covid hit).
With this MUSE project, I wanted to pay homage to that forest, those cabins, and the forest floor that cradled and restored me over and over again.
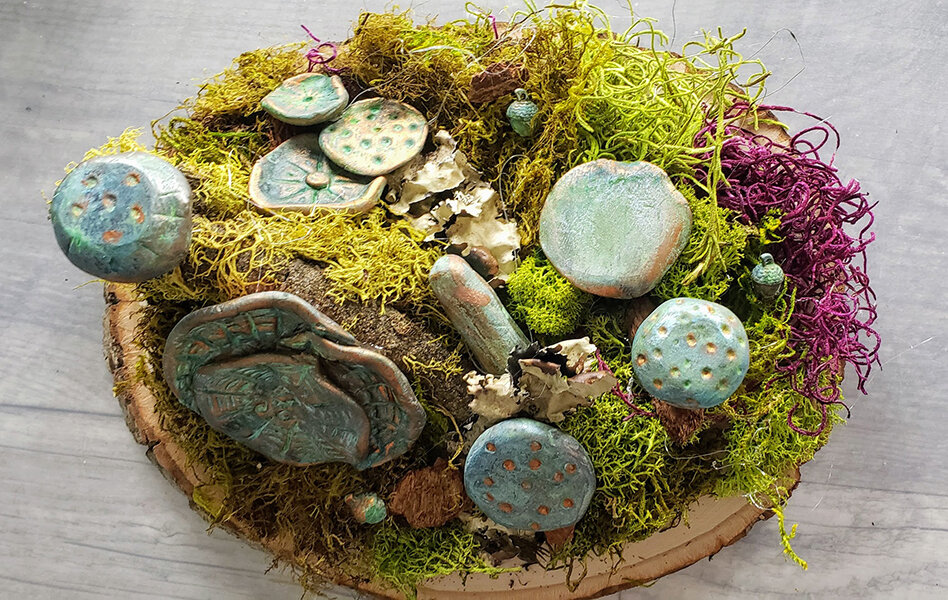
I started with both colors of Apoxie Sculpt and I sculpted a variety of mushrooms, adding little details as I went. Once the Apoxie Sculpt was dry (*note: the black clay takes longer to cure than the white clay), I coated the mushrooms with clear gesso. Once primed, they were ready for multiple coats of VerDay finish to give them that earthy, mossy vibe.
I then gathered up some moss and tree bark and got to assembling my “forest floor.” I used a tree slice with a raw edge as my substrate. The moss was adhered with a hot glue gun, and then I arranged my fungi just so and used the hot glue gun to adhere that as well. The final touch was a few adorable little metal acorn embellishments that were also finished with VerDay. I scattered those on the forest floor as well.
This is different than the work I usually create, but I love how it came out. Just looking at it transports me back to those sublime weekends by the forest floor. I’m going to display it in a place where it will continue to ground me on a daily basis until I can return to my cherished nirvana.
Thanks for reading! I hope this inspires you to both create AND escape!
Blackbird- Wendy Aspinall
In the 1960’s Paul McCartney wrote the lyrics to this beautiful song, Blackbird.
Read moreLe Roi Soleil- Wendy Aspinall
We are still in limbo, our lives have become endless numbers of days staying in place. I don’t know about you but my little studio has become my happy place. As I don’t have anywhere to rush off too, I’m spending more and more time there. And it makes my days brighter, it would so easy to let my mind vegetate but I find myself dreaming up new projects.
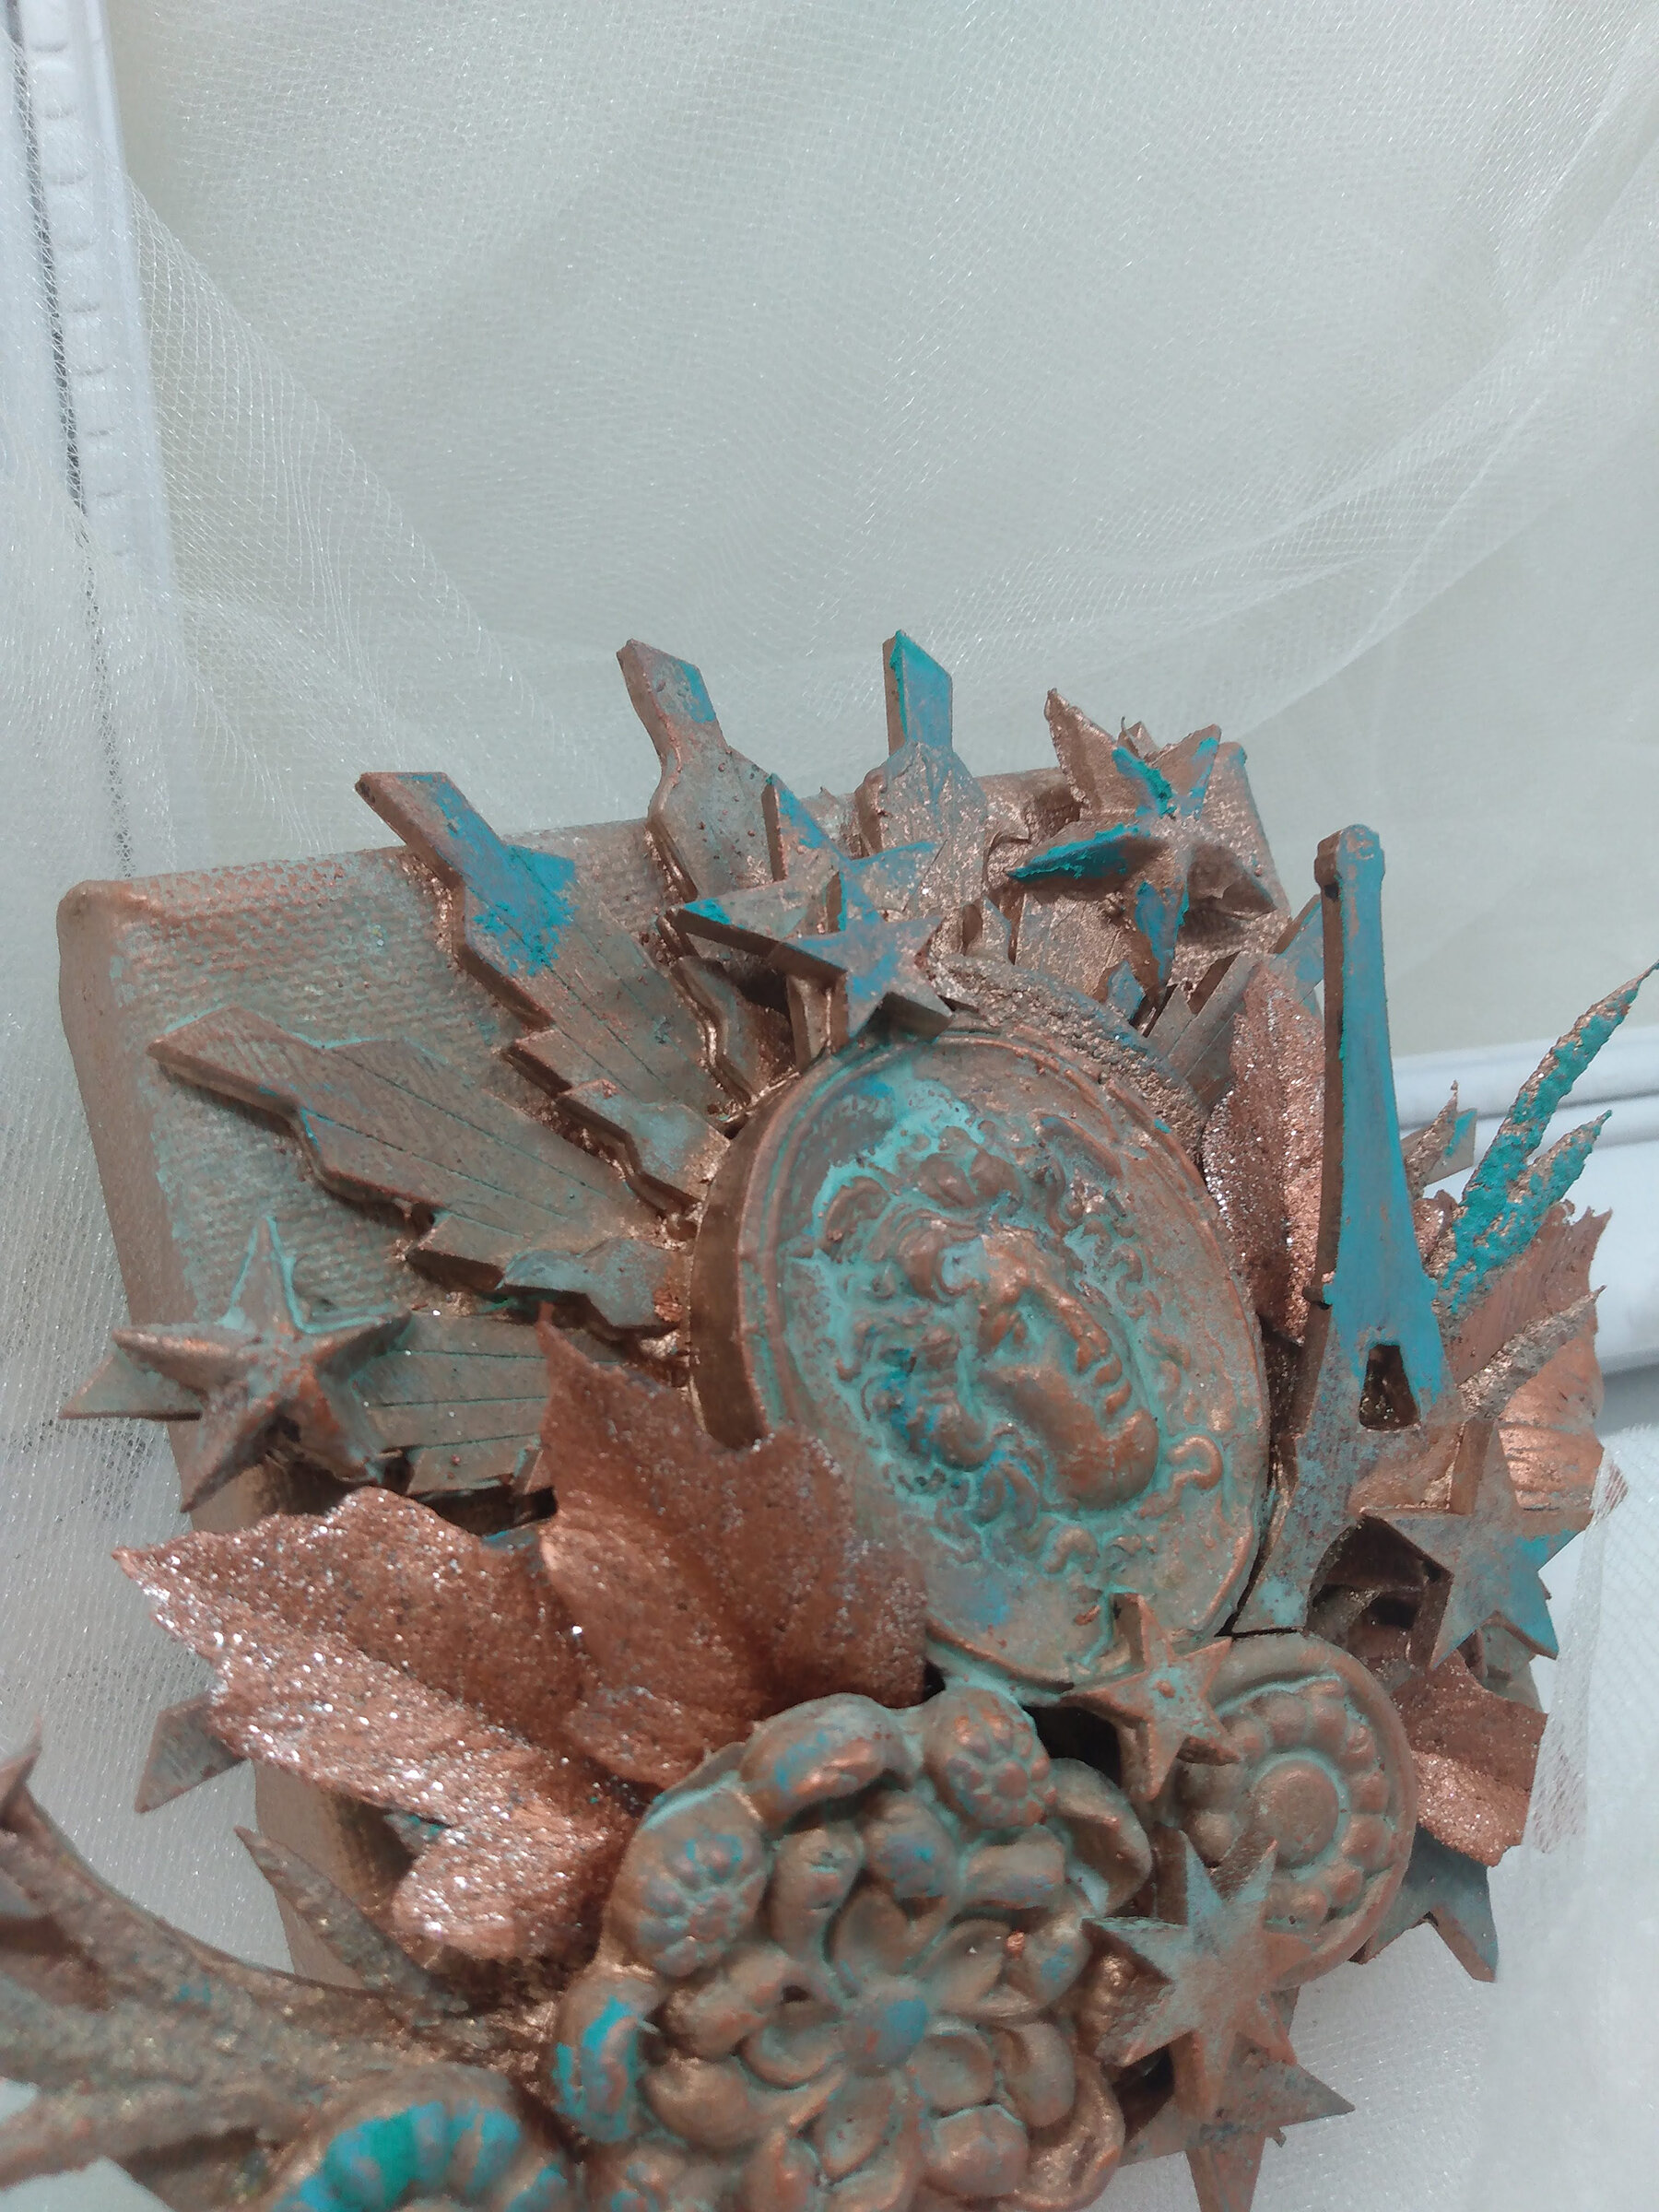
And this canvas is one of those ideas, inspired by the new Camafeos in the R&A store and the French Monarch Louis XIV or Le Roi Soleil, the Sun King. He ruled for 75 years and he was a dreamer like me, he envisioned the Palace of Versailles.
I started my project by gluing on the Medium and small sized Helios II wood shaped suns onto a 4 inch squared canvas.
Then added the round Roman headed cameo.
Some paper clay stars.
This was left to dry and then painted with the Verday paint in copper.
Next I added some paper clay Medallions, some chipboard stars and an Eiffel tower and some flower pics. Then everything got another coat of the copper verday paint. When dry, I sprayed it completely with Patina Solution.
Lastly I added copper wax to bring out some of the details on the Cameo and Medallions.
Thank you for your time and I hope this inspires you to find your happy place and dream big. Have fun and make art. And above all stay healthy and well. Hugs Wendy.
Long Ago and Far Away
Editor’s Note: This is a re-cap of a challenge we had in the Tribe a couple of months ago. Then a pandemic ensued. Enjoy!
MUSE Spoon Challenge Blog Post by Jenn Pipe
There is a flea market that comes to town three times a year. Last September, I was scouring the grounds for finds that I could use in my upcoming studio classes. I was seeking inspiration while sifting through fields and fields of antiques and other people’s junk.
I eventually came upon a vendor who had lots of bits and baubles and an inordinate amount of old silverware. Once I saw the box full of old spoons, I knew I had hit the jackpot—I bought the whole lot from her and went on my merry way. My love affair of transforming these utilitarian instruments began that day!
Fast forward to February 2020: I was teaching an in-person women’s “spoon” class in the Self Esteem Through Art studio and I also volunteered to host a challenge in the Relics and Artifacts Facebook group. I thought, “Self, why not have the tribe create some spoons as well?” It seemed like a no-brainer and something that probably hadn’t been done in the tribe yet.
Over the course of the challenge, we had quite a few beautiful submissions. There was a stunningly created winged spoon with a rich VerDay finish and lots of Relics and Artifacts products. There was another spoon that was transformed into this magical woodland scene, complete with tree branches, a swing, and these adorable little mushrooms! There was a solar system with a beautiful golden sun. A gorgeous submission that looked like a very intricate hand-held mirror that perhaps a god or goddess would own. One participant created three different spoons with three different themes and R+A products. And there was another spoon that was straight out of a fairy tale, complete with Apoxie Sculpt snake, candelabra base, and the quintessential good vs evil theme.
When all of the MUSES convened to vote on the winner, we certainly had our work cut out for us! After discussions and deliberations, we decided that we had to award two prizes.
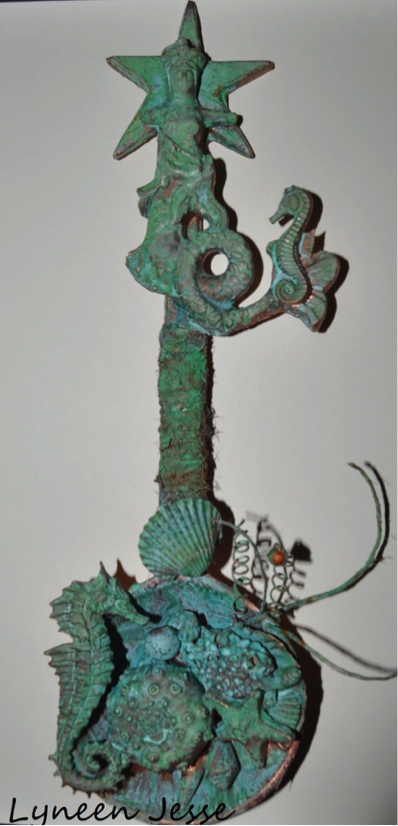
Our 1st place challenge winner was Lyneen Jesse. She was the participant who created three separate spoons. But, it was her ocean-themed star spoon that truly captivated the judges. The composition was breathtaking, the finish was rich and vibrant, and the use of craft blanks was very well executed.
Lyneen shared with me that mixed media is where her heart is, so she was excited to create on these unique little spoon “canvases.” Never having used VerDay before, she purchased some from sandraevertson.com. She admits to being disappointed after the first coat, but completely blown away after adding the second coat and applying the activator.
This is how Lyneen felt after applying the activator and watching the transformation: “OH MY! The transformation was AMAZING. I never would have believed it if I had not seen it with my own eyes. I am loving all of the finishes so far and the only one I still have to try is the bronze. Trust me, you will not be disappointed when you work with VerDay!”
Here is Lyneen’s award-winning spoon. Her spoon won her a $30 gift certificate at sandraevertson.com.
Our runner up was Naomi Montana Walsh. When I first saw her spoon, I couldn’t take my eyes off of it. I knew it was telling us a story and it reminded me of something from a fairy tale. I couldn’t wait to reach out to Naomi to learn more!
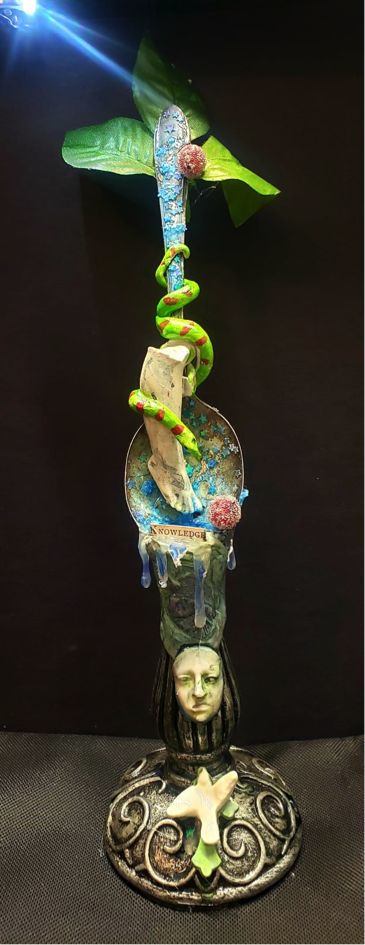
Naomi calls her spoon “Eve’s Temptation” and it is rich with symbolism. She wanted the bottom of the spoon to be like a pool. The foot represents Eve dipping her foot into that pool of temptation (in this case, the temptation is knowledge). Naomi sculpted the snake with Apoxie Sculpt and twisted it down the spoon handle. She then built a fruit tree at the top and then attached the spoon to a broken candelabra-like Halloween ornament for the platform.
Naomi believes Eve was best represented by an expressionless face as she was somewhere between her fall from grace. She also included an element of hope, which is represented by the dove at the bottom of the platform. So brilliant! So unique!
This is Naomi’s spectacular spoon. She won a $20 gift certificate at sandraevertson.com.
I want to thank everyone who participated in the challenge. I also want to thank my fellow MUSES for their creative contributions, which certainly helped this challenge to gain a bit of traction, and for their expert opinions on the submissions.
This was a lot of fun and I can’t wait to host my next challenge for the Relics and Artifacts Tribe!
A Wonderful Way To Connect
The R&A Mail Art Swap
We are all feeling the isolation of being in Quarantine, we are all feeling unsure about the future.
So what could be nicer in this time of stress to receive beautiful works of art through the mail.
Presenting the 2020 mail art swap swap
Rules and parameters:
*If you haven’t already, become a member of our R&A Tribe on Facebook.
* Themed, HOPE, LOVE and JOY.
*must utilize R&A stamps on either postcards or envelopes.
*You will send one postcard or envelope to each person in the swap group and you will receive lots of lovely mail back.
* A postcard is a rectangular mailer sent without an envelope. Sending a postcard is an extremely affordable way to communicate when you’re using the U.S Postal Service—regular postcards cost only $0.35 to mail!
To qualify for postcard pricing, your mailer must be at least 3 ½” high, 5” long and 0.007” thick (approximately the thickness of an index card), but no more than 4 ¼” high, 6” long, or 0.016” thick. To qualify for the base rate, postcards cannot be folded. Large postcards can measure up to 6 ⅛” high, 11 ½” long and ¼” thick, but they cost as much as a First-Class Letter ($0.50 and up) to send.To be eligible for mailing at the price for letters, a piece must be: Rectangular. At least 3-1/2 inches high x 5 inches long x 0.007 inch thick. No more than 6-1/8 inches high x 11-1/2 inches long x 1/4 inch thick.
Taken from
United States Postal Service
*Sign - up closes June 1st
*last day for mailing is July 1st 2020.
*Please add your mailing address to THIS sigh up thread so to group can Utilize the list.
*Sign up and post questions here.
and above all have fun
Wendy
Special Thanks to Jenn White for looking up all the mailing information
Mother Nature's Heart- Lanette Erickson
Hello Everyone, Lanette here. With all the craziness in the world right now I find myself trying to take a moment to enjoy the little things that so often go unnoticed. For example Hostas, Hydrangeas and Lilies emerging from their winter sleep. It happens so quickly every year, one day its gray and gloomy, the next the yard is green. Normally I miss it, I'm busy with the end of school year activities. But this year I haven't, I saw glimpses of the quick change from gray and gloomy to alive and green.
So with the wonder of Mother Nature on my mind I picked up Sandra's Vessel Heart and went to work. This is what I ended up with:
I truly enjoyed creating this little heart. I started by cutting a wooden block for the base and attaching a piece from a wire hanger to the back of the heart with a bit of Apoxie Sculpt.
Next I went to work on decorating my block base with just a bit of tissue paper, watercolors and Sandra's Beautiful stamps. (Oculus Stamp & Elements Set of 4 Collection)
Next it was on to Sandra's Vessel Heart , I opened up my New Dina Wakley Gloss Sprays and sprayed my heart out. I know this heart was indented for Halloween. But with a mix of ribbon and bright colors I think it found another use.
Thank you so much for stopping by today I truly appreciate it! I hope that I have inspired you in some tiny way.
Until Next Time,
-Lanette
Relics & Artifacts Products Used:
Art Gives- Milagros C Rivera
I seem to come to play in times of hardship. I’ve come to the Muse on hurricanes, earthquakes and now pandemic.
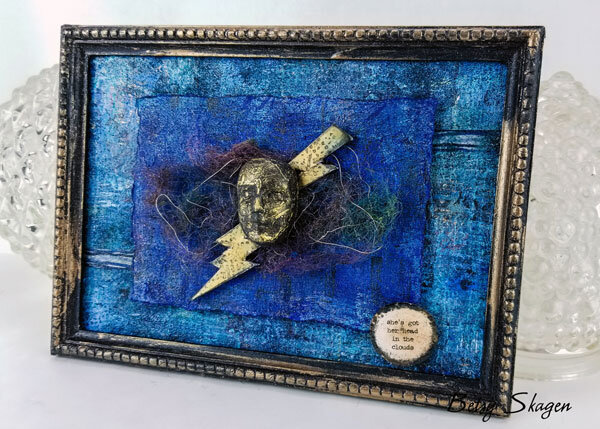
Read moreGuest Muse, Betsy Skagen_ She's Got Her Head In The Clouds
It was such an honor being asked to be the guest artist for the amazing Sandra Evertson that I wanted to make something special using one of my favorite color combinations of blue, purple and gold.
Read moreCanvas- Out Of The Darkness, Lanette Erickson
I was inspired to create this canvas after I saw Sandra's original that she found in France.
Read moreColor inspiration with Muse Milagros C Rivera
Seeing the Lotus blossom come to life while I put it together was awe inspiring. The mechanics, the perfect wood cuts, details upon details took my head for a spin.
Read moreVery Special Guest Star Stephanie Jones Rubiano
Hey everyone! My name is Stephanie Jones Rubiano and I am so delighted to be here as the Relics & Artifacts Guest Ambassador this month!
Read moreEtsuko Noguchi- This Month's Featured Guest
Hi My name is Etsuko and I am so excited to be the Relics & Artifacts Guest Ambassador this month. This is a great opportunity and honor to me.
Read more